3 Must Have Items for a DIY Outdoor Fireplace

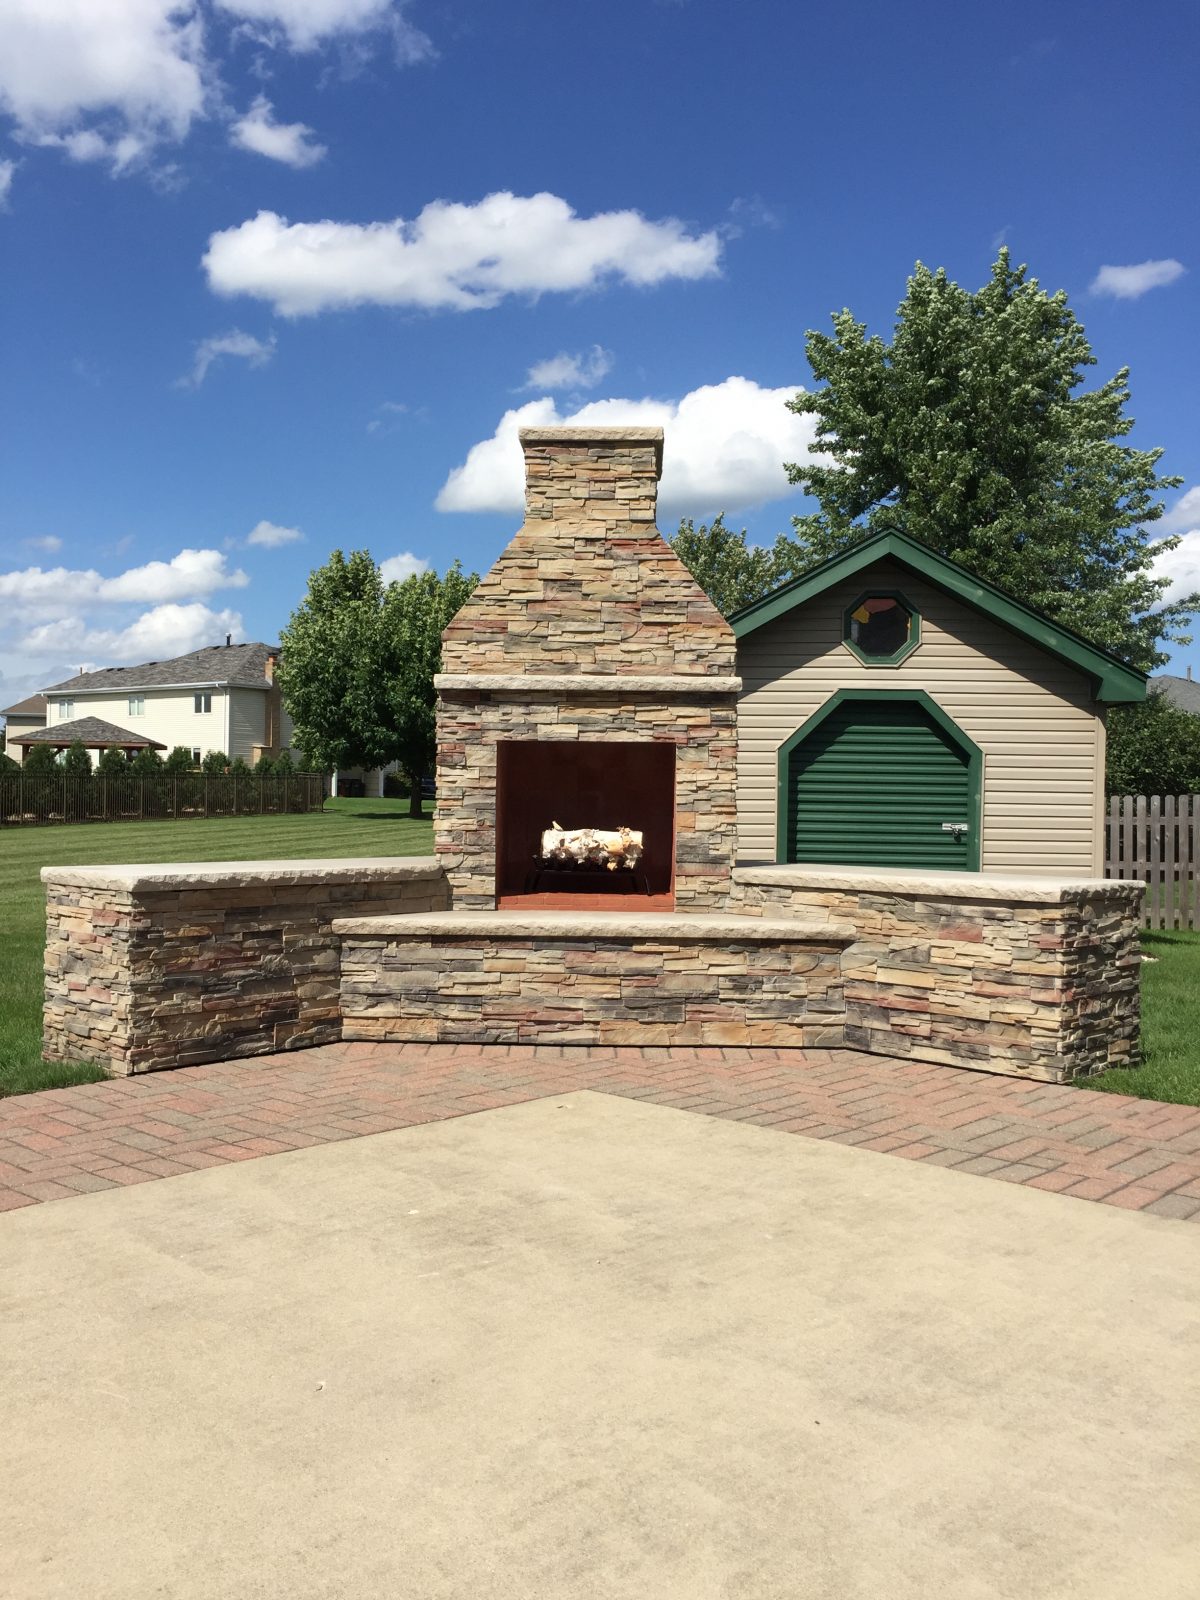
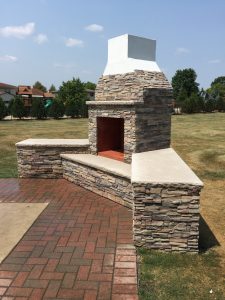
When you see an outdoor fireplace in a backyard, don’t you think relaxation and a hangout destination? We sure do, and we love to see our DIY customers using and enjoying the outdoor fireplaces they build. It’s so fun to light that raging fire and sit back with a beverage and blanket. Kick your feet up on the hearth, listen to the crackle and pop, and follow the dancing flames.

There are a few items that we think every outdoor fireplace owner should invest in, because they make the experience more enjoyable, and frankly, more manageable. Now that may seem a bit broad, so let’s get right down to it. Here are three things that you should buy and why.
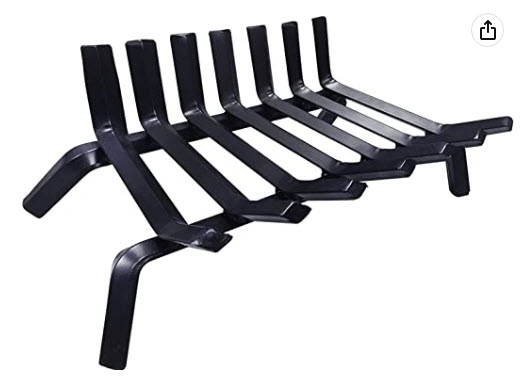
#1 – Fire Grate

When you attempt to light a fire, you need oxygen as one of the three components. In order to get oxygen below the wood that you’re burning, it is necessary to elevate the wood just a few inches and contain it. This is the job of a fire grate. These wrought iron metal grates are super resilient and they will last you for years. Let us introduce the Amagabeli fire grate, available in 21″, 24″, and 30″ widths. One will fit into any size firebox you have, and it looks great too.

Black wrought iron elevated fire grate for DIY outdoor fireplace used to hold firewood while burning in a firebox.
Amagabeli fire grate available in 21″, 24″, or 30″ widths

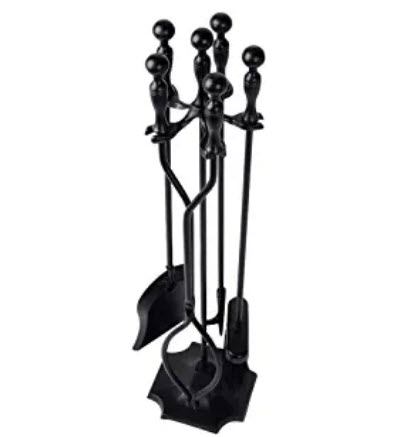
#2 – Fireplace Tools Set

Now that you used the grate to contain the raging fire, you will need a set of useful tools to manage the fire. These tool sets almost always have pokers, tongs, and even little shovels and brooms for the ash. Many of the sets come with a decorative rack to store the tools and they look super nice on the seating surface of the structure. Look no further than the Amagabeli 5 piece wrought iron set that will last a lifetime.

Fireplace tools set with poker, tongs, brush, scoop, and decorative wrought iron stand holder.  Black iron metal.
Amagabeli 5 piece set

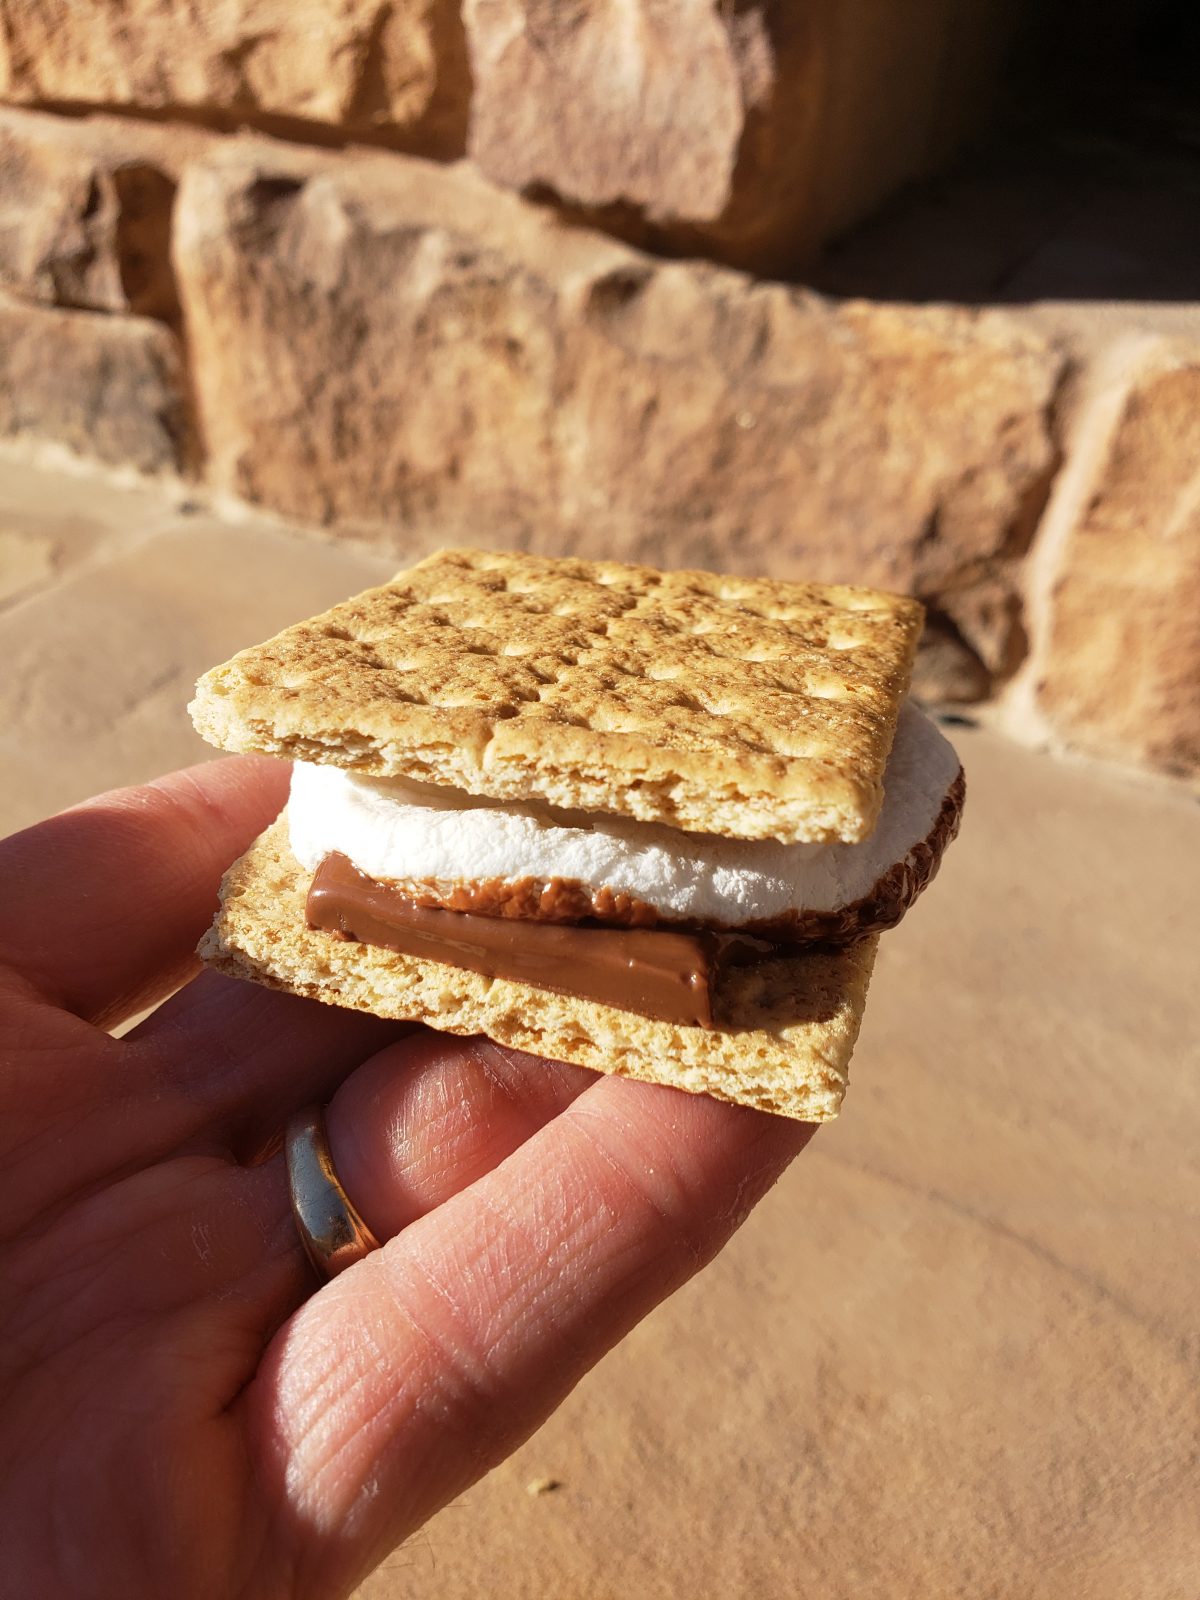
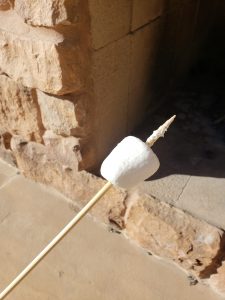
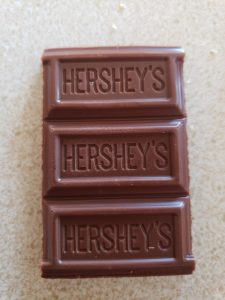
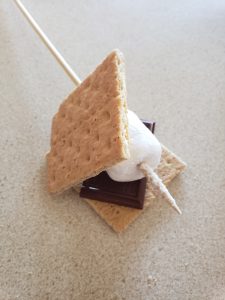
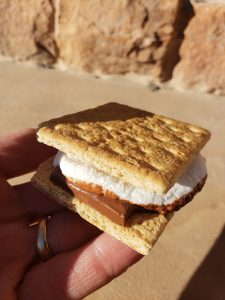
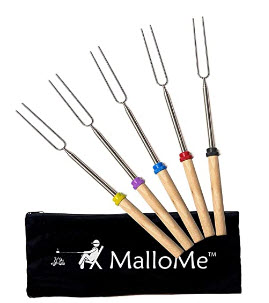
#3 – Marshmallow Sticks

Oh yeah, nothing says fun over a fire more than roasting marshmallows. Then do you sandwich it between graham crackers with chocolate? Sure you do. But it’s always better to extend that marshmallow over the fire with a telescoping and reusable stick. We use the stainless steel MalloMe sticks that telescope to 32″, so you and your kids can stay a good distance from the fire. They are color coded so each person can have their own dedicated stick. Never a more fun way of enjoying a backyard fire.

Marshmallow telescoping sticks stainless steel with 32" length and wooden colored handles.
Extendable to 32″

So there you have it, our three great picks and must haves for your DIY outdoor fireplace. Make your fire experience a great one. And as always, go to Backyard Flare, LLC for all your DIY construction plans and useful info for building your masterpiece.

DIY Outdoor Fireplace Review – IL

Fireplace Review Time

Hello all you DIY’ers and welcome to this edition of, “That Awesome DIY Fireplace” where we introduce a DIY homeowner, tell you what state they reside in, and show you how awesome they were at building their own outdoor fireplace.

Who is Our DIY Builder?

We venture to Illinois to introduce homeowner Mario, who decided to build the Douglas Mini design.  Mario reached out to Backyard Flare and ordered his DIY construction plan.

Douglas Mini DIY outdoor fireplace
Mario started with the footprint on his concrete slab.

Mario’s backyard has a great looking grassy area with a brick patio.  The corner of the patio needed a new addition though, so an outdoor fireplace was the obvious choice.   Mario started building his fireplace as per the construction plan and got to the top of the firebox lintel.

Modification Time

Mario elected to make some modifications to the chimney portion of the build to give the top an angled look.

Douglas Mini outdoor DIY fireplace angled chimney
Metal framework was added to create the angled chimney.

To achieve these angles, Mario used metal stud for the framework, using small self-tapping screws to tie the metal sections together.  It’s very important to make sure the angles are the same on each side.


Douglas Mini DIY outdoor fireplace with metal angled chimney
The metal framework was symmetrical on the front and back.

Finishing the Fireplace

Mario finished his fireplace with a beautiful stone veneer and natural stone horizontal surfaces.  The firebox was finished in a red firebrick, providing a cool look.  Mario bought a metal fire grate and it looks like a perfectly cut piece of aspen pine is laying there ready for a good burn.

The brick patio was laid back down to the front of the hearth, giving it an almost seamless look.  If you look closely, the angles of the chimney match the door on the shed behind it.  I really think Mario did this on purpose to tie the backyard together.  It really works, and we love it.

Douglas Mini DIY outdoor fireplaces backyard
Great Douglas Mini design outdoor fireplace built by a homeowner using a construction plan from Backyard Flare.

Are You Ready to Build?  Now is a Great Time

How has this DIY fireplace inspired you?  Are you ready to build your masterpiece like Mario did?  Backyard Flare can help you with any worries or concerns of the masonry word, and even with design help.  We have assisted hundreds of homeowners who are weekend DIY’ers, and we can help you realize your potential to build a fireplace just like Mario’s.  You can do it too.

Check back on our blog page periodically and follow us on Instagram and Facebook for additional photographs and information.  We love to share great pictures and we really enjoy bragging about our customers, so we hope to hear from you.

Thanks so much for reading about another great DIY fireplace build.   We’ll bring you more soon, and as always …happy building.

Dan Heston

The Perfect S’more

The Perfect S’more

Is there a day that goes by where you don’t contemplate the perfect S’more or the ingredients that it takes to construct one?  I don’t think so, as these quandaries are what keep lots of people up at night.  I often lie there for hours at a time, beads of sweat collecting on my forehead, while I count marshmallows and small squares of chocolate.  Did I break the graham cracker perfectly, so the two sides are equal? Is the marshmallow gooey enough?  The perfect S’more…oh my…so much to consider.

Funny to think about, and “no” I really don’t drive myself into crazed sleeplessness over something as simple as a S’more.  Having said that, I thought this would be an amusing blog post to write about how to build the perfect S’more and to get some feedback on what constitutes your perfect S’more.

So Many Questions

What is the perfect roast level of the marshmallow?  How much chocolate is necessary for these tasty and crunchy dessert sandwiches?  These seem like crazy questions and an over analyzation of a simple sweet snack, but really think about what you do when you build the perfect S’more.  You make a lot of micro decisions when you are in the S’more frame of mind.

Marshmallow on a stick
Marshmallow on a Stick

You will usually impale a helpless marshmallow on a skewer or metal stick and hold it over the open flame without mercy.  The question lies; however, do you hold it just outside the flame or catch it on fire?  Do you require a golden brown slow roast, or do you prefer the stick mounted flaming marshmallow ball like a torch used by Indiana Jones?  How long do you let the marshmallow burn before you blow out the flame?  Is there a point when too much burn is too much, and intending to start over, you resort to flinging the sticky mess off the stick for the dog to devour?

Chocolate
Perfect Milk Chocolate

Do you prepare your graham cracker and chocolate before the marshmallow torture or do you yell at others in panic to get your cracker and chocolate ready?  If you’re like most, you do the latter.  You were so focused on the marshmallow torture and open flame that you “tunnel-visioned” yourself out of paying attention to the chocolatey crunchy portions of the sweet treat. Remember that your failure to prepare the cracker and chocolate should not constitute an emergency on the part of your family and friends.

S’more (Some More) Questions

Do you forget and leave the graham crackers open, so the dog gets into them, “Pavlov Dog Style”?  Do you viciously eat a good portion of the chocolate beforehand, and then realize that there may not be enough to go around?  Are you the one that puts the hot and sticky marshmallow skewer down on the chair in haste not realizing that it will glue itself to the seat cushion?

The Perfect S'more
Building the Perfect S’more

With so many things to consider, should we as humans even be stepping into the tough decisions necessary to build the perfect S’more?  Is it better done as a team event?  This blog post has not done anything except make me hungry for a S’more and nervously anxious at the thought of building one.  I hope the next time you decide to make the perfect S’mores that you talk it over first with your guests.  Think about logistics and have a game plan before indulging in such glorious delicacies.

S'more
S’more Time Anyone?

Or just have fun.  S’mores are a great way to share memories with family and friends.  Leave a comment and let us know some of your S’more memories or thoughts.  We’d love to hear them.

Build Your Own Marshmallow Fireplace

Please visit www.backyardflare.com if you are interested in a DIY fireplace or outdoor kitchen construction plan.  They are perfect places to build a fire necessary for your marshmallow torture.  Thanks for reading, and as always…happy building.

Dan