Customer Questions

I was working on a custom fireplace design and DIY construction plan for a customer the other day. We had just spoken about her fireplace structure. She had asked me questions, one of which was “should I use a chimney flue”? I explained my experience with a chimney flue and the construction method of our designs, answering all her follow up questions. She was eager to learn which made me very happy. When we finished our conversation, the phone rang again, and I answered it.
On the other end of the phone was a man who wanted to build a DIY outdoor fireplace in his backyard. Would you believe he had the exact same question concerning the use of a chimney flue. I spoke with him for a while and answered all his questions. When I hung up, I really started to think back. There were lots phone calls and emails that hit on the specific topic of a chimney flue in our outdoor fireplaces.
Here We Go!
I thought that this same topic would be a good one for my next blog post because the interest is obviously out there. Now let me get started by saying that if you have ten masons in a room and you give them the same picture and dimensions of a fireplace, then say, “Go build it”, it will be built ten different ways. No two structures would be alike. Now I must continue with this and say that all ten fireplaces could very well be functional fireplaces and just because they are all built different doesn’t mean any of them are wrong. They’re just different. We are just one of those masons and ours is simply a different method of building and to some, a different train of thought. The use of a chimney flue is not wrong at all, but we know they aren’t necessary if the structure is built the way we build.
This is not to say that you absolutely can’t use a chimney flue with our designs, we just know that they aren’t always necessary. A lot of masons build using these clay pipes. Some are square, some are rectangle, and some are round. Some are 12” long and some are three feet long and there are several diameters too. First, I need to go back a bit and explain what a chimney flue is used for. It is literally the tube that lines a chimney and lots of people think they are a necessity.
We Design Without a Chimney Flue
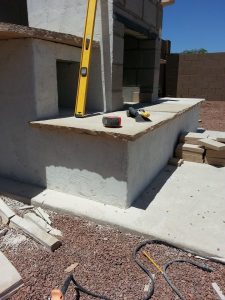
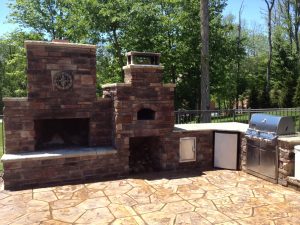
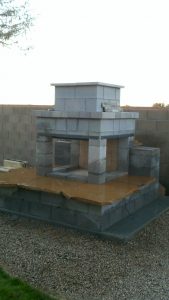
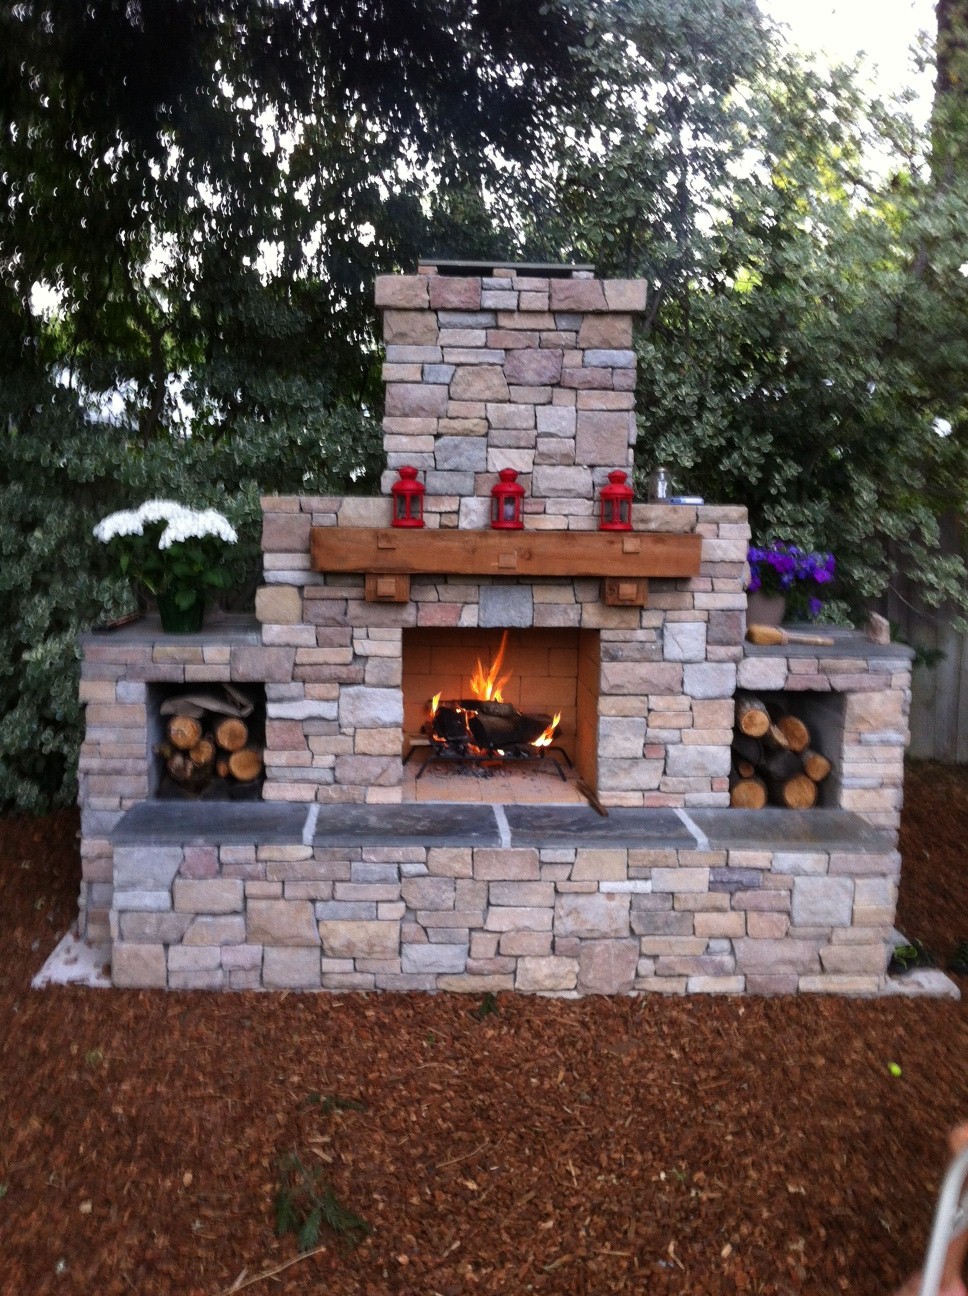
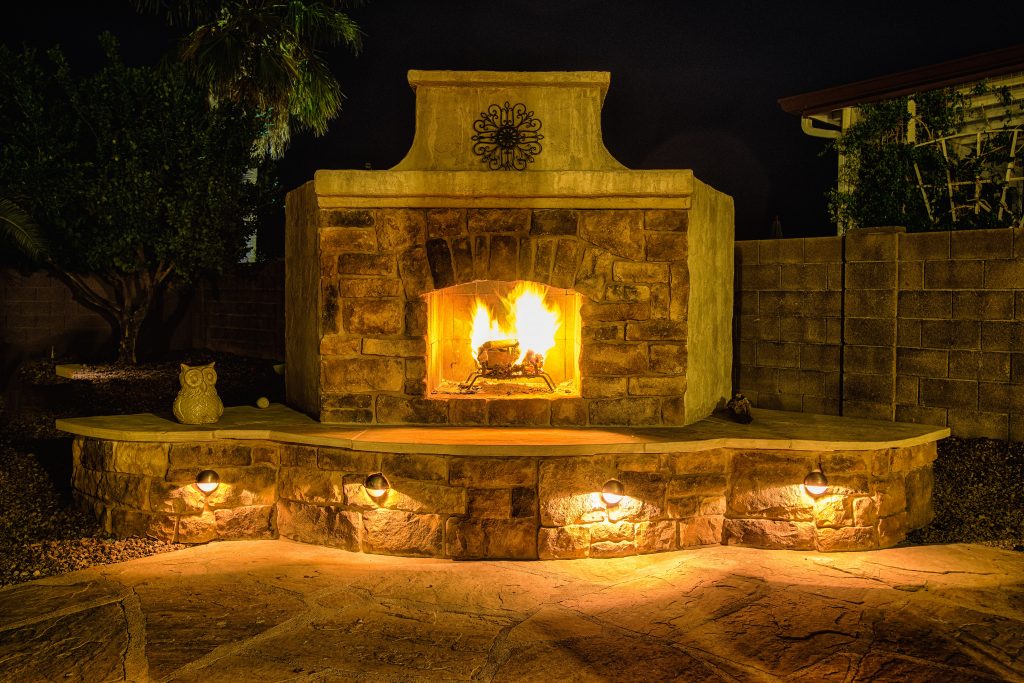
You may be thinking, “how do I not need a flue to direct the smoke”. Our designs are constructed with the interior chimney dimensions being formed by block. In essence, our chimneys designs are all squares and rectangles. There are no round edges or round entryways to our chimney openings so square and rectangle blocks dictate the way everything is formed.
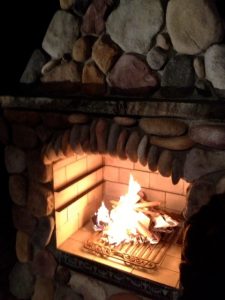
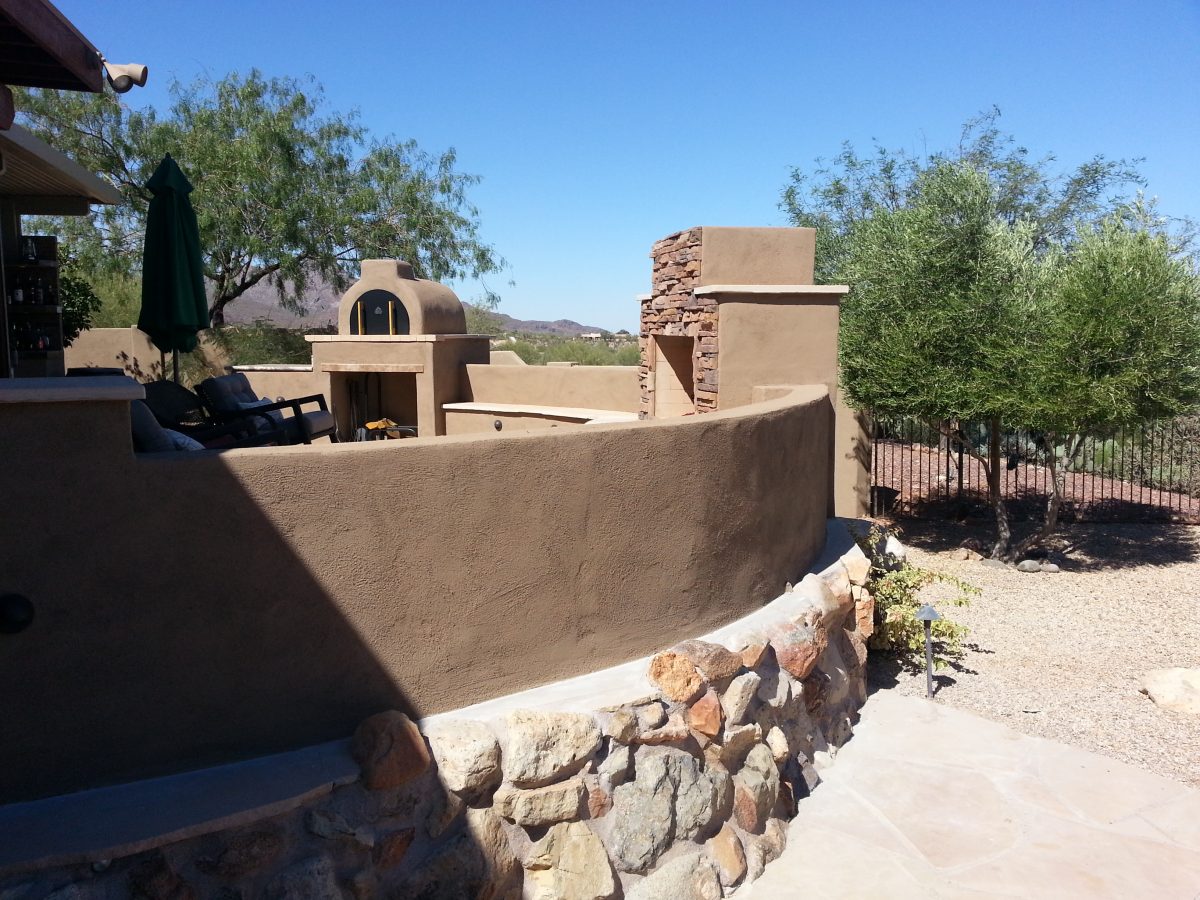
Backyard Flare fireplace designs incorporate a large throat chimney, so the inside of the chimney does not get super-hot. Our cinder block fireplace designs have been heat tested and they are hotter in the Arizona summer than in the winter months with a fire burning. I can literally stand up on my fireplace after a fire has been burning for 15-20 minutes and stick my hand inside the chimney opening. I can hold my bare hand against the inside of the chimney from the top and it is warm, but not so hot that it is unbearable. This is the reason we can say that the inside of our chimneys aren’t even as hot as it is on a sunny Arizona day.
Lots of people will say you need to build your chimney with a clay flue for purposes of heat, thus keeping the heat off the cinder block. I say, if your chimney opening is big enough, not restricting the smoke and heat, you don’t need a chimney flue. You can open a chimney up pretty big and not even affect the draft of the structure, so it’s basically up to you which build method you want to subscribe to.
How Are We Different?
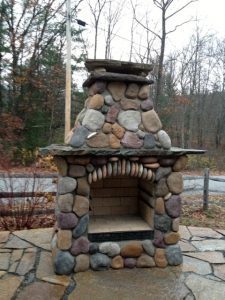
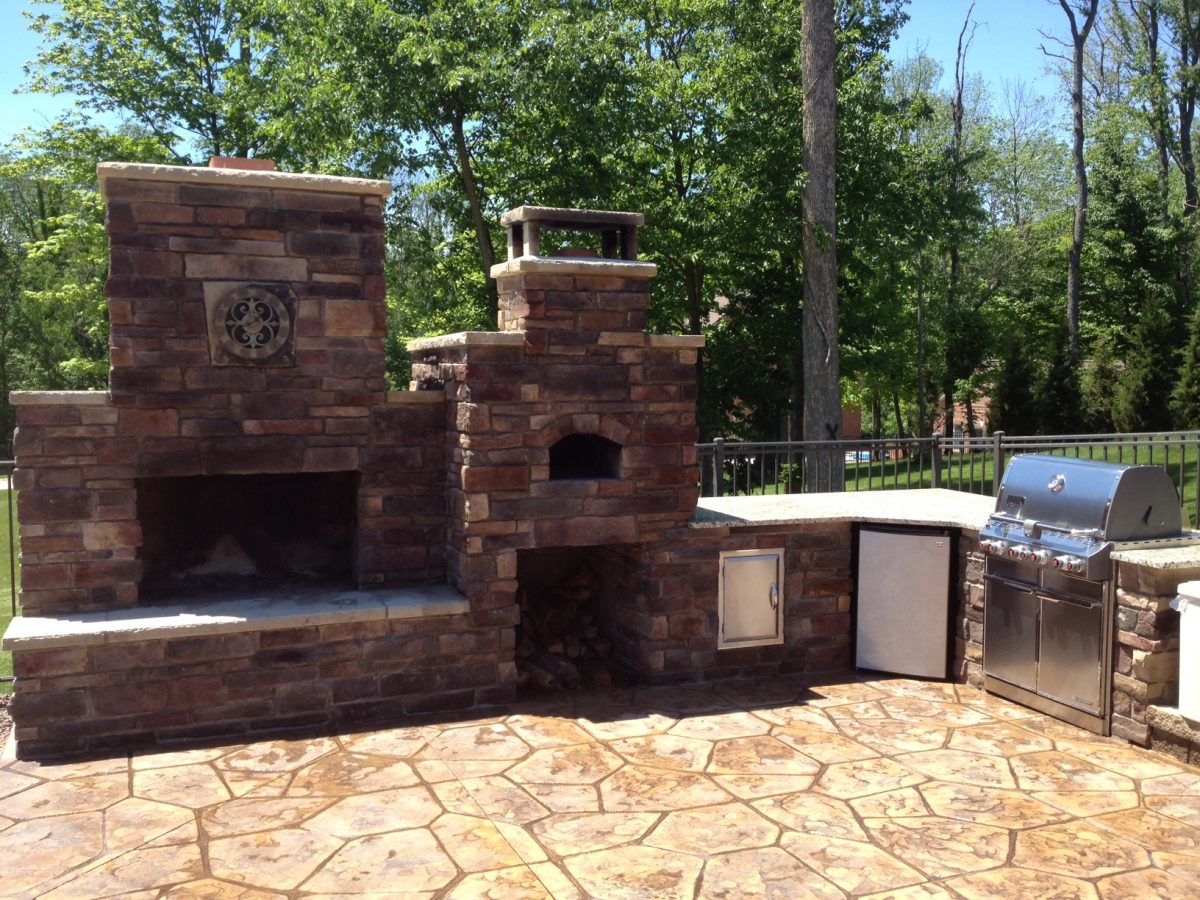
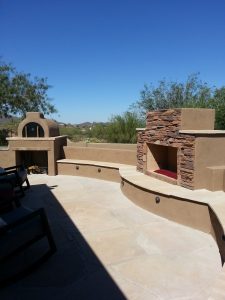
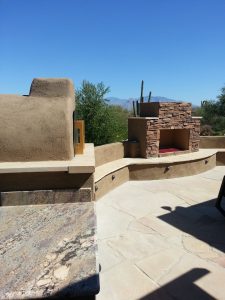
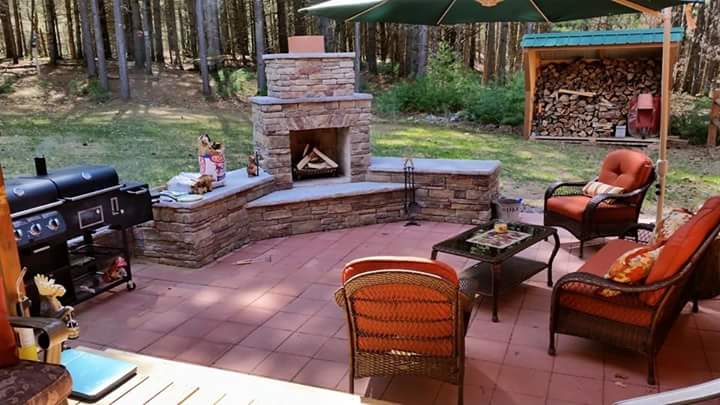
Backyard Flare construction plans use the same basic build method above the firebox from design to design. These chimneys appear different from the outside too. We have never had a draft problem, so we know we have a tried and true method of building that does not require a chimney flue, thus reducing the cost of the final structure.
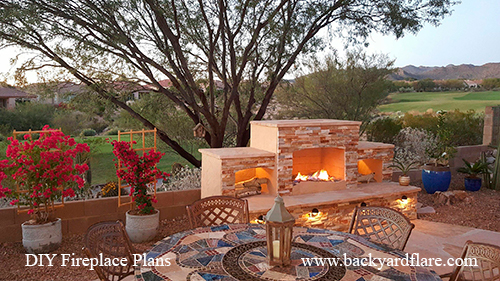
I hope his post has helped you out and that it has answered a few questions. Let us know if you have any further questions and we will make every attempt to get you an answer. Thanks for reading and if you are wanting to build a DIY outdoor fireplace, visit www.backyardflare.com for the best and most comprehensive DIY construction plans on the market. As I always say, happy building.