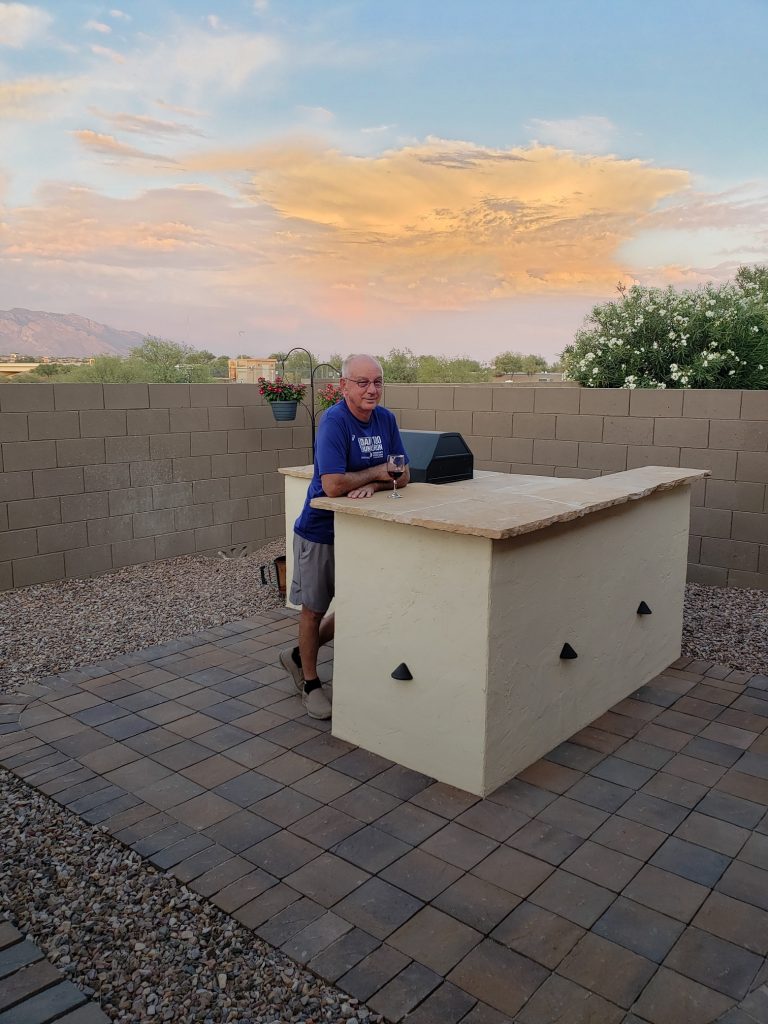
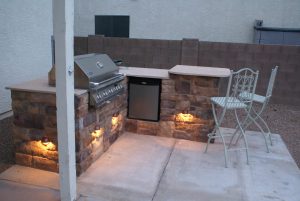
My father in-law standing proud with his new outdoor kitchen.
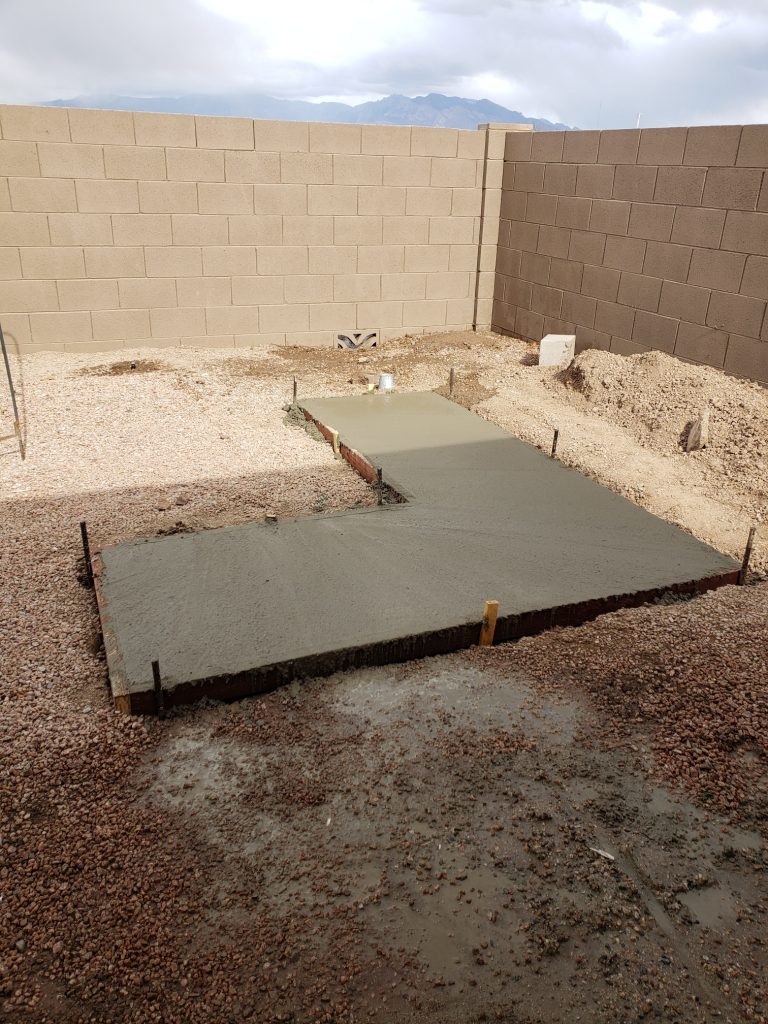
Our DIY outdoor kitchen build began with some ground excavation and measuring for slab height as compared to the existing concrete patio. This was very important as we planned to add brick pavers from the patio to the base of the outdoor kitchen and we wanted it to match up perfectly. Once we determined the proper slab height, we built our wood forms, tamped and prepared the ground, added our steel mesh, and got to pouring the concrete.
Slab was poured in approximately 35 minutes
My father in law and I worked in tandem, with me mixing and pouring the concrete and him screeding the wet mix. Within 35 minutes, we had the concrete done and we waited for it to start setting up.
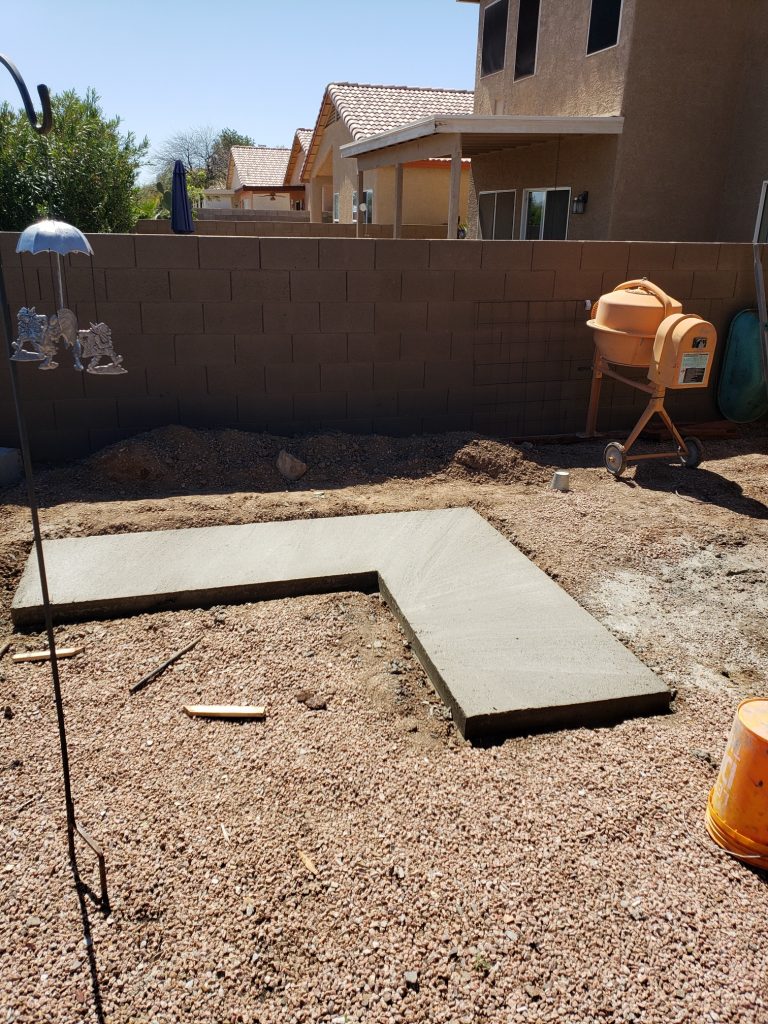
Two days later, we pulled the forms off and exposed a great looking L shaped slab that was waiting for some mortar and block. Once the block laying began, we worked for approximately 6 hours to complete the rough block build.
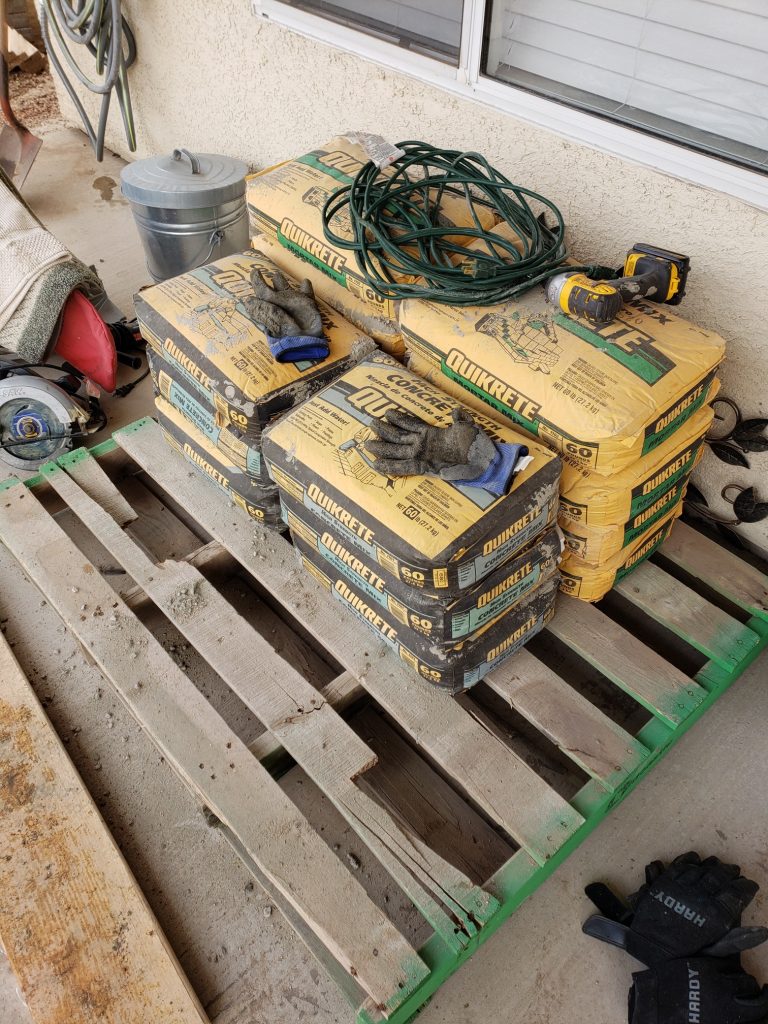
We mixed our N-type mortar in a mixing bin and got 15 blocks mortared in place with each 60-lb bag. This is how much you can generally get done if you don’t waste or lose too much mortar on the ground.
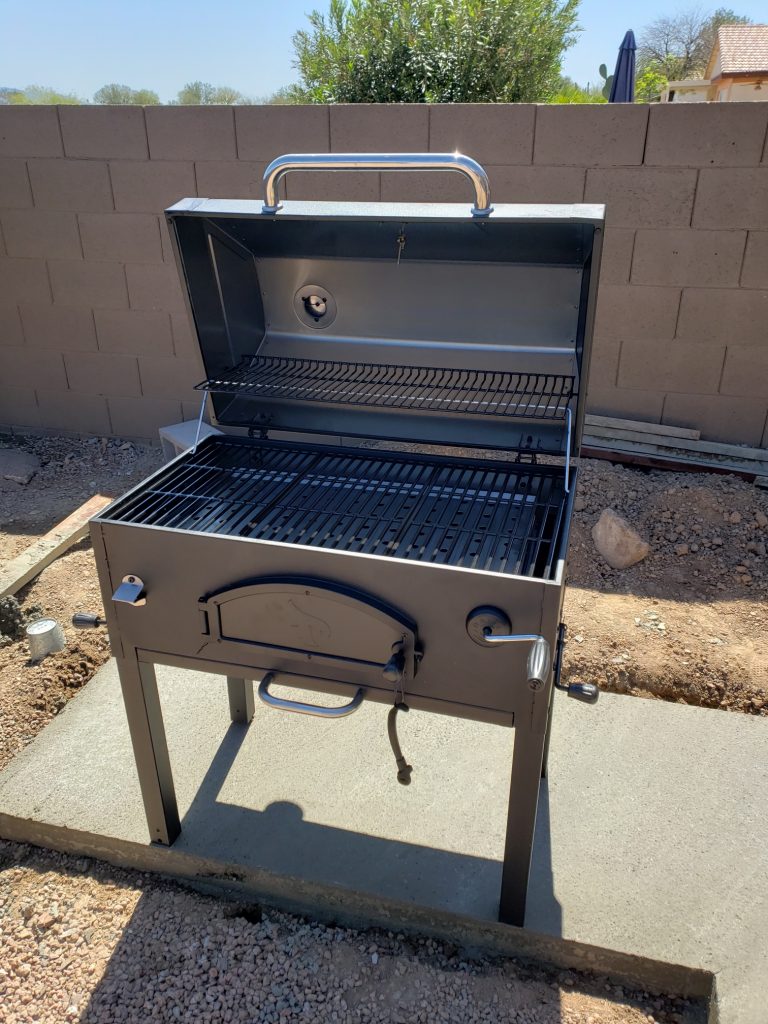
@charbroil grills are a great way to go for a great look and functionality
@Charbroil for Functionality
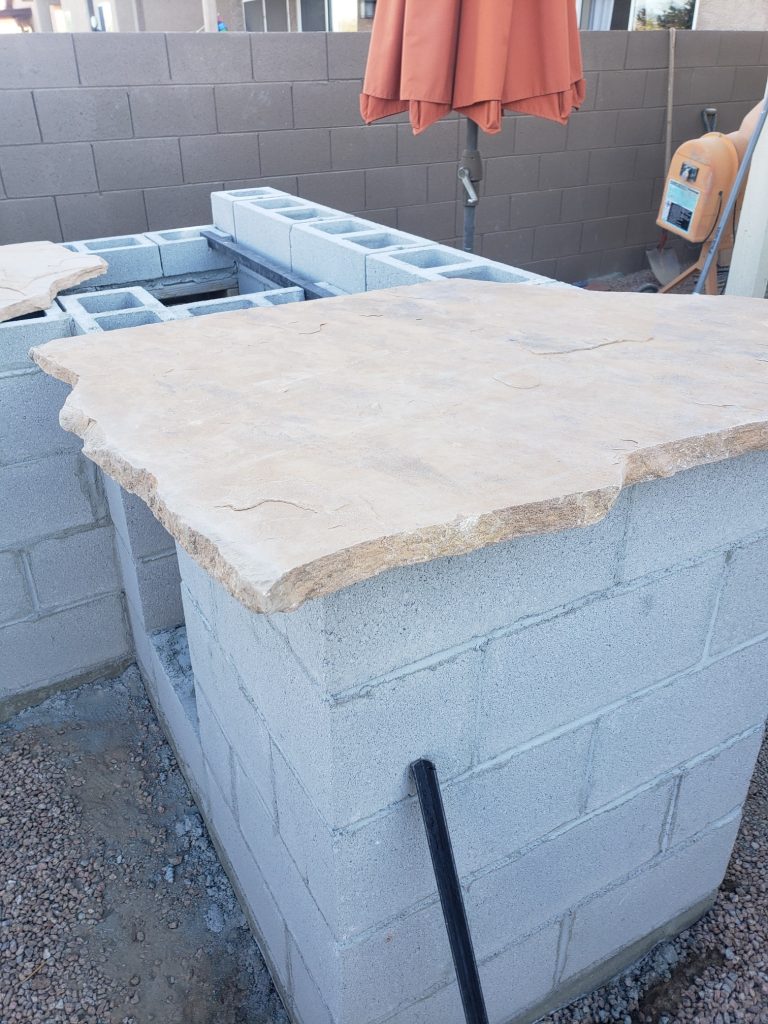
We dismantled a Char-Broil charcoal grill and built a base for the cooking system to sit on. The counter height was a standard 36″ and with a gorgeous flagstone, the raised bar and counter was finished. The outer edge of the flagstone was a very cool chisel cut for a rustic look.
Flagstone is a great counter and bar material
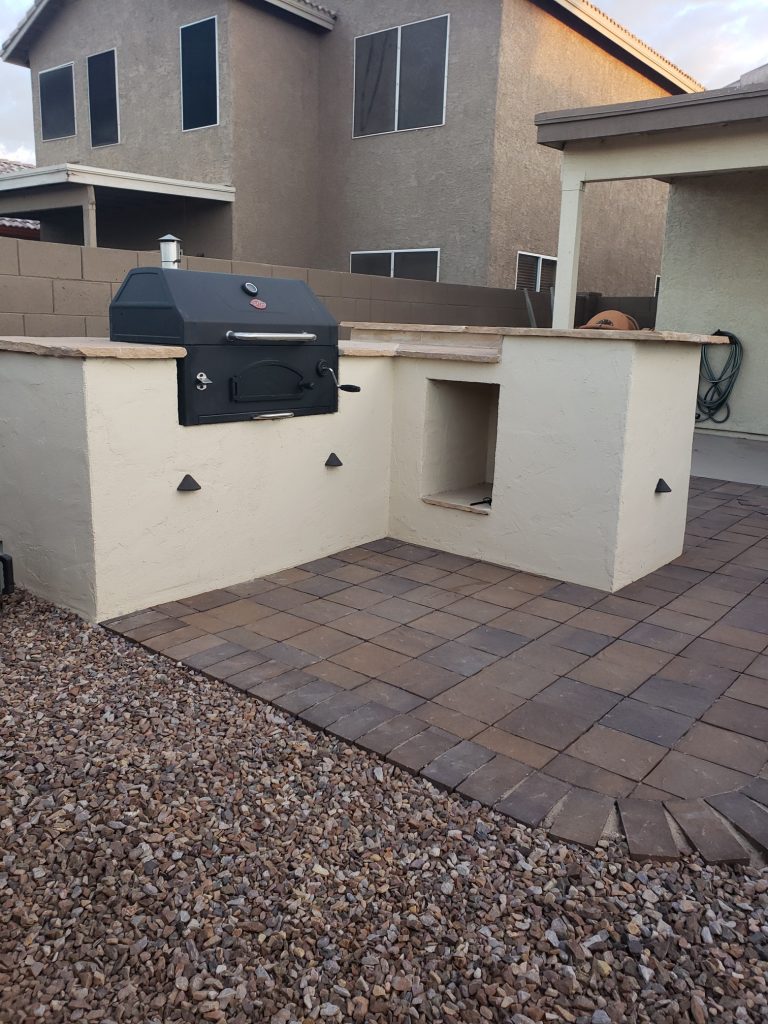
Finish Work – Stucco and LEDs
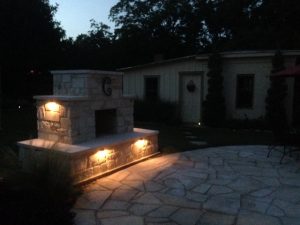
I applied stucco to the sides of the structure and painted it to match our previously built outdoor fireplace. We ran some low voltage lighting cord and added great looking LED lights for additional ambiance. We hoped to keep the outdoor kitchen build to a minimum and we ended up spending right at $1,000 total on the structure. This cost included the material, lights, counter, and even the grill. Amazing what you can do when you have a plan to follow. A DIY outdoor kitchen can be in your future.
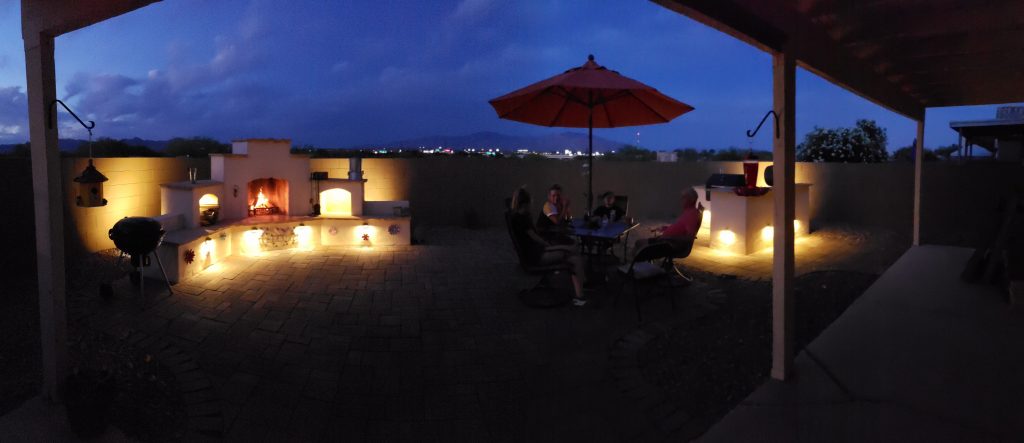
Lighting is the best way to add a rich look
Let us know how we can help you with a DIY outdoor kitchen construction plan. It doesn’t have to cost an arm and leg so let us show you how to do it.
Beautify your DIY outdoor fireplace with lighting.
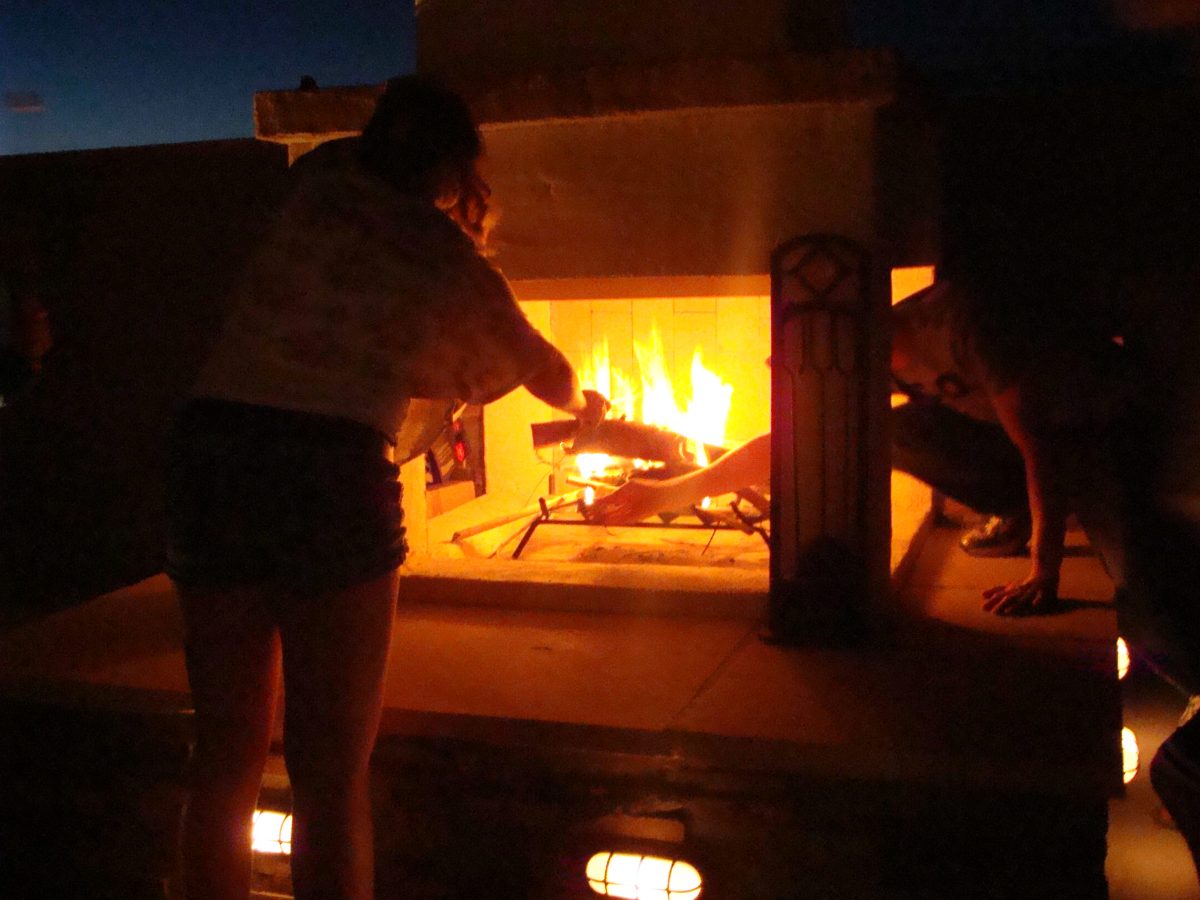
There are many ways to install backyard lighting in your outdoor space. In this quick tutorial, we’d like to specifically go over our method of installing low voltage lighting in a outdoor fireplace structure. We are currently building an amazing DIY outdoor fireplace at my in-law’s house in Marana, Arizona, a suburb of Tucson, and it is turning out beautiful. To include that “extra something”, we made sure to add a little lighting to the fireplace, so it really shows off the structure at night. Backyard lighting makes the world of difference when added tastefully. Just a little goes a long way.
Bring Your Backyard To Life
Even when we aren’t enjoying the warmth of a fire, we want to be able to look out the window into the backyard and see the fireplace, and the lighting will really make that happen. The backyard lighting also gives off enough ambient light, so the backyard isn’t completely dark. We want to be able to go outside and walk around the backyard at night without having to turn on all the exterior patio lights.
Lowes? Yep…They’re Everywhere
Here at Backyard
Flare, we love to shop at Lowes Home Improvement because they have so much
variety in their departments. Follow
them on Instagram at @loweshomeimprovement for great pics and design
ideas. For the lighting on our
structure, we ventured to the outdoor lighting aisle and we picked up a Hampton
Bay 150W transformer, a 100-foot spool of low voltage lighting cord, and six Hampton
Bay LED lights. The total was about $125,
but you’ll see that it was worth every penny.
Backyard Lighting Installation
So, let’s get into the installation method. To understand low voltage lighting, it is important to know that it’s like powering a light bulb with a battery. A transformer will plug into a wall outlet, but the alternating current from the outlet will be converted in the transformer to direct current, like a battery. The 100-foot power cord is attached to the back of the transformer like you would attach speaker cord to a receiver, only a screw driver is used after the ends of the wires are stripped.
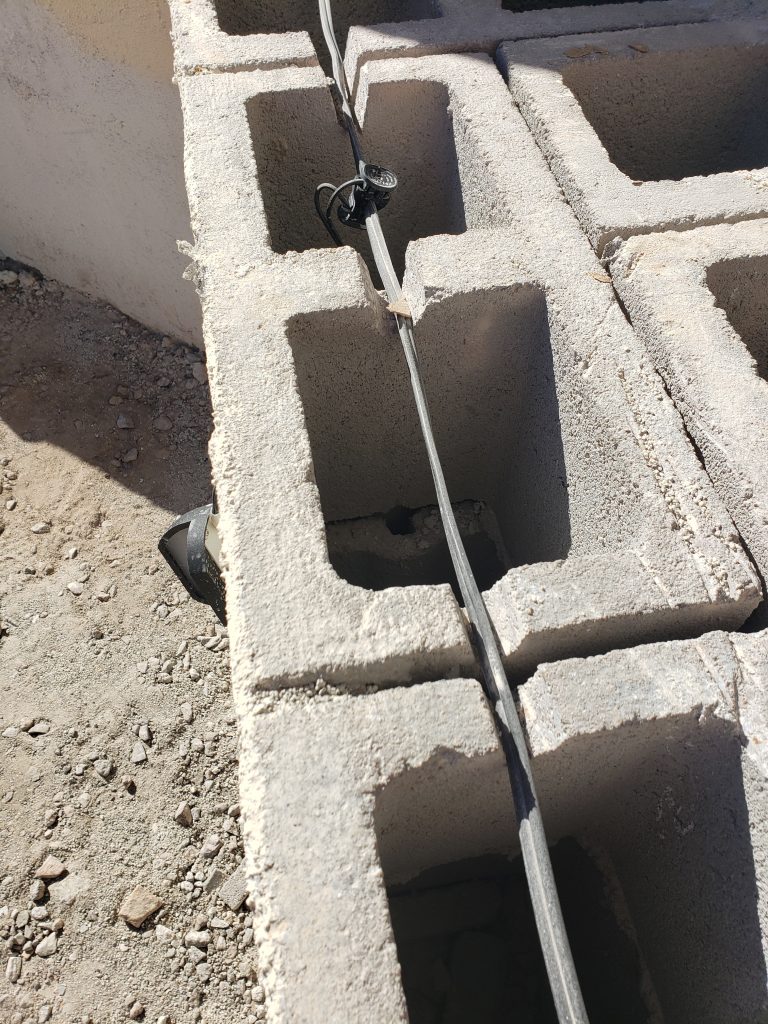
We routed the cord to the structure, and it entered on the back-left side. We ran it through the structure, cutting grooves into the tops of the cinder blocks for channels where necessary. The cord ran everywhere we wanted lights, and then it exited the back-right side of the fireplace.
Light Positioning
Run the power cord through the structure by cutting grooves into the block.
Once we
figured out exactly where we wanted the lights, we used a 3/8” masonry drill
bit and drilled holes big enough to pass the LED light connector through the
block. Inside the block, the lights’
push pin connectors were attached to the power cord and… we had light. The lights were attached to the front of the
structure using wall anchors in the block.
To install the wall anchors, we drilled more holes using a ¼” masonry
drill bit. It’s just like adding them to
drywall, but with a little bit more dust.
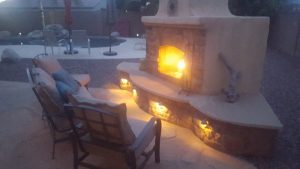
We made sure to add a light on the inside of each storage void too so the voids would be back-lit. It added a lot of appeal to the look of the structure and sure made a huge impact at night. The addition of light to an outdoor fireplace or kitchen is super simple and we know that you can do it. We sure hope this helped you out and that it eased your hesitation to add lighting to your structure or backyard. If you’re interested in building your own DIY outdoor fireplace or outdoor kitchen, visit us at Backyard Flare for the best and most comprehensive outdoor construction plans on the market.
Show Us What Your Lighting
We would
love to see some of your outdoor lighting.
Please send pics of your projects to dan@backyardflare.com. Thanks for reading, and I hope you learned
something here. Until next time, have
fun on your outdoor projects and happy building.
Dan Heston Backyard Flare, LLC Tucson, Arizona www.backyardflare.com www.diyoutdoorfireplaces.com 520-269-9740
Lighting was added to the hearth and inside the storage voids.
Killin’ Time
The other day, I had to drop my car at the tire shop and because I had a few minutes to spare, I walked across the busy street to some stores. As always, I was drawn to one of my favorite stores, Lowe’s Home Improvement, and I found myself standing in the outdoor lighting aisle. If I go to Lowe’s, I almost always want to at least walk down some of my favorite aisles to see if there is anything new on the shelf. This day was no exception.
I should back up a bit and say that whenever I build any type of structure in a backyard, whether it is an outdoor fireplace or outdoor kitchen, I always look for ways to spice up the final look. One of the things that I have written on in the past is my love for outdoor lighting. It just makes a backyard, and specifically, outdoor structures, come alive at night. The shadows created and the way things look in the dark with some light are just awesome.
Lighting was added above the firebox.
So, back to Lowe’s and the outdoor lighting aisle… In the past, if I needed lighting, I have just gone to the store and picked up what I needed to complete the lighting project. I have never shared with my audience how inexpensive it really is to add this great feature to your DIY outdoor fireplace or outdoor kitchen. Well, wait no more. Here we go.
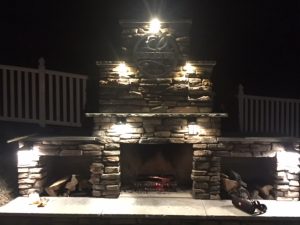
This DIYer added lighting to the hearth and the sides of the fireplace.
Outdoor Lighting Components Explained
With most outdoor lighting, there are three main components involved. They are a power source, otherwise known as a power transformer, wire, and the lights. The transformer is a heavy cube that plugs into an outlet. Many of these transformers will turn on at dusk with photo eye technology and you simply tell it through a setting, how long you want the lights to stay on from that point. Pretty cool!
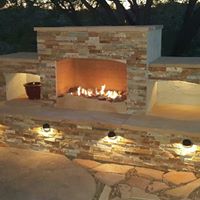
Four lights were added to this curved hearth.
The neat part is the lights will come on automatically and shut off automatically; no work for you. They come in different wattage’s starting from around 60W to several hundred watts. For powering a structure, the smallest will be completely sufficient, especially if you’re using LEDs. A 60W transformer will sell for around $50.
The wire will hook into the transformer with screws and the wire will snake through your structure’s block work. We’ll get into the install in a different post. The wire will transfer (Direct Current – DC) low voltage as the transformer’s output to the lights, so it won’t shock you any more than holding on to a flashlight battery. It’s nothing like the power from an outlet in your house. A 50’ length of this outdoor lighting wire will cost around $20.
LED Lighting Is awesome
Lastly, the lights. Today’s technology has put LED lighting at the forefront for efficiency, longevity, and amazing power savings. LED stands for light emitting diode. An LED is a small electronic component (diode) that will glow when power is applied. No more changing incandescent bulbs, right? Can I get an amen on that one?
This Catalina fireplace had lighting added to the hearth for a great look.
LED lighting fixtures are sold individually, and they can run anywhere from a few dollars on clearance to around $20 for each fixture. I add at least two LED fixtures to any structure, so it is aesthetically pleasing. Two is really all you need for a structure width of only six to eight feet. The LED fixtures will have power cord on them. This cord will connect to the wire and the connectors will pierce the wire to be powered. The best part is that each LED is around 2W to 4W so you could hook up to 30 of these 2W LEDs to a 60W transformer. Do you see the math? This is turning into an electronics training course now.
This DIY Tucson Grill design had lighting added around it for a finished look.
How Cheap is It Really?
If you were to add two LED lighting fixtures to a fireplace, you would be able to spend as little as $110. Now that’s a bargain when you consider the look you’ll achieve. I hope this post helped you understand how simple outdoor lighting is and how inexpensive the components are. It’s really not that complicated.
Check out Backyard Flare, LLC to learn more about building your own DIY outdoor fireplace or outdoor kitchen and peruse our gallery for great ideas in design. See what other homeowners have done.
If you have any questions about anything, please let me know. I am always excited to hear from a fellow DIYer, or someone wanting to learn more about how to beautify their backyard space. I can be reached at dan@backyardflare.com and as I always say, “Happy Building”.