Holy cow, it’s been a while since I have written on the blog and I am feeling like there is so much to say. As always, we are so humbled by what we see our amazing DIY customers building using our DIY construction plans. We love the pictures we are constantly receiving.
We have so many that we want to show off and we know that you will find some inspiration from them. We are amazed constantly that even though most of our customers have little to no masonry experience, that they can build these awesome DIY projects.
We, like so many others, have social media accounts that allow us to show off and brag about our very talented customers. It is very important to understand that the pictures we post are of DIY outdoor fireplaces built using Backyard Flare DIY construction plans. These builders are also everyday homeowners who want to save thousands of dollars and build it themselves.
Check Us Out – DIY
Our Instagram page is updated frequently and we know you’ll get lots from it. Our Pinterest page is a great resource for additional photos and information. Please check us out and please like and subscribe to these sites. You’ll be notified when we post more great info and pics. Who knows, we could even post a picture of your fireplace for the world to see.
We know that we can provide the knowledge and we’ll be the cheerleader for you to be successful in your DIY fireplace project. Let us know if you have any questions and we will do our best to get you an answer. Thanks and as I always say…”HAPPY BUILDING”. -Dan
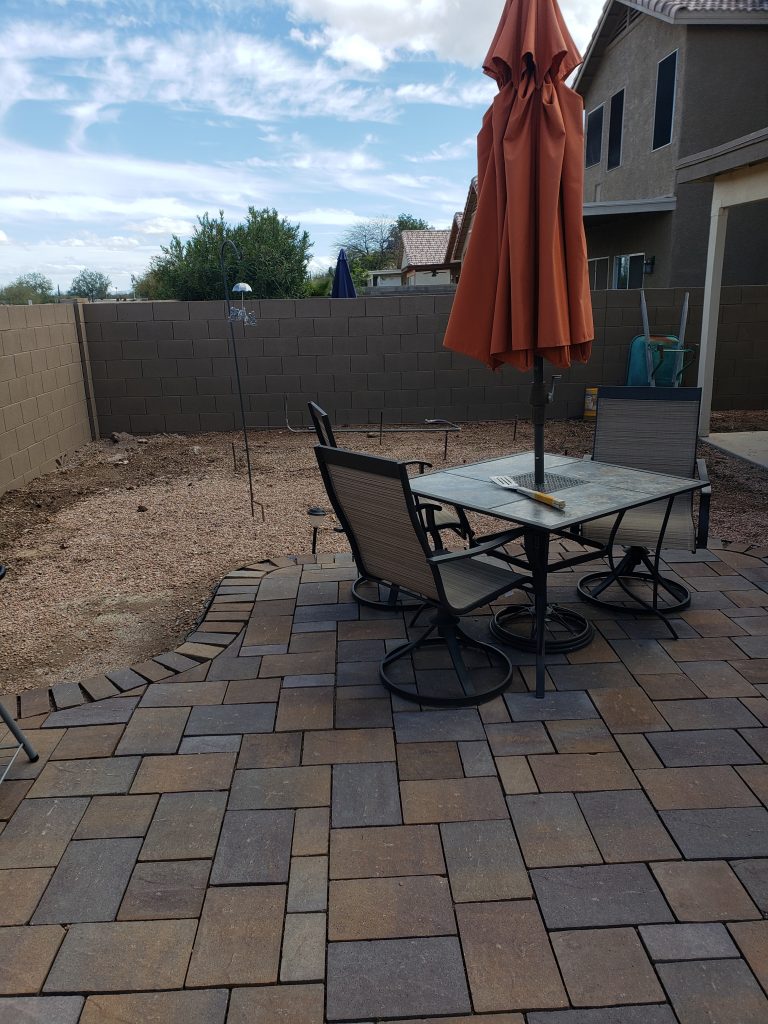
Well, this 2020 spring sure snuck up on us. Down here in the southwest, the temps are getting into the 70s already in March, so we are looking at some DIY projects. We have decided that an DIY outdoor kitchen is what my father-in-law’s backyard needs. He’s super excited and we started talking and discussing the build and what we would want in the structure.
Getting started with the excavation.
We have a
few hundred square feet to work with, so we have some different shapes and
configurations available to us. There is
a gorgeous mountain view to our east, so we definitely want to keep that on our
mind when we design the layout.
Initial Thoughts
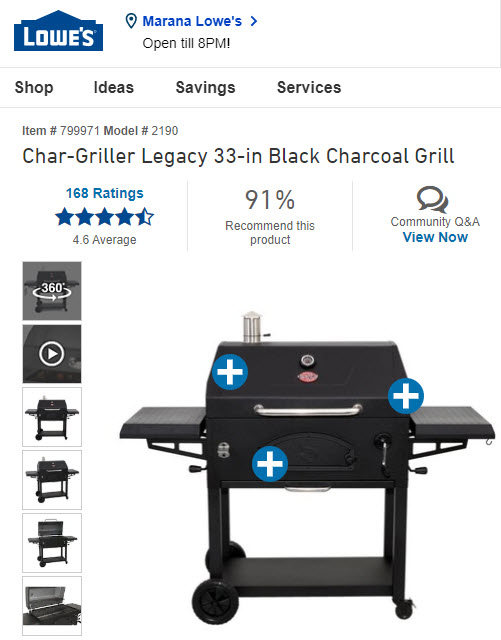
First and foremost, my father-in-law loves to cook on charcoal, so we are headed in that direction with the grill. We picked out a Char-Broil brand structure that we’ll modify to fit the space. That’s a real cool way to build and very economical, so we’ll be getting into that in some future posts. Secondly, we are looking to match the exterior of the outdoor fireplace that we built last year on the opposite side of the backyard. In order to do that, we’ll be putting stucco and outdoor lighting on our DIY outdoor kitchen, with flagstone as our counter material. By using the same finish material on the grill and fireplace, it’ll look like we built both structures at the same time and the overall look of the backyard will look well thought out.
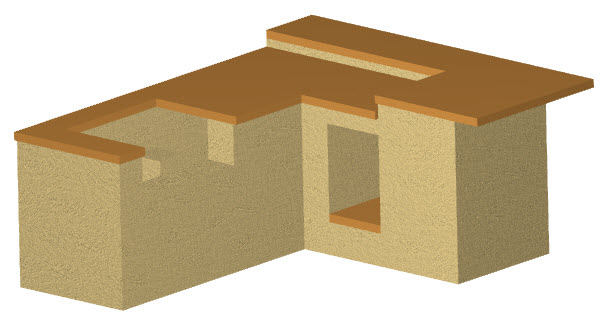
We decided that a raised bar area would be a nice addition to the DIY outdoor kitchen, so the structure will have to be big enough to accommodate that extra feature. An “L” shape is something we feel will work so the guests sitting at the bar will have the mountain view to look at while they talk to the grill chef and enjoy their favorite beverage.
Starting the Construction
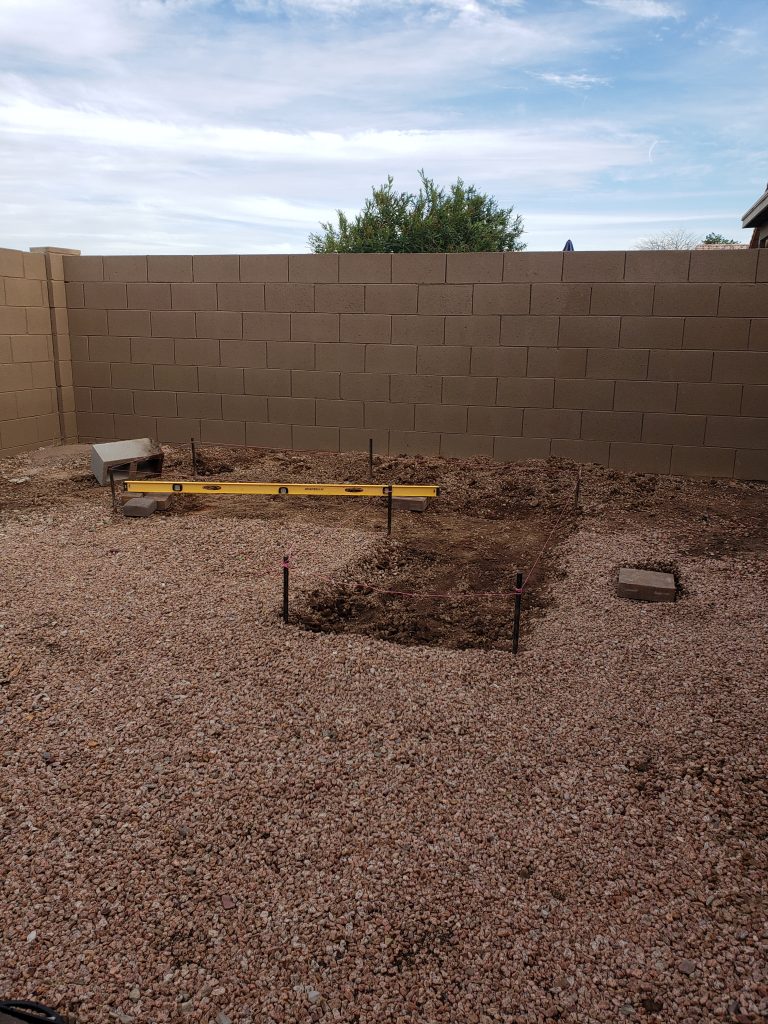
We staked
out the rough dimension of the “L” shape grill and then started figuring out
the level of the future concrete slab.
This is important so our patio pavers are the same height of the patio
to the house. The excavation of the site
started with a quick dig out of the slab dimension.
Using a really long level, 6-footer, we laid out random pavers from the existing patio to the farthest side of the DIY outdoor kitchen structure. This would tell us how much digging we would need to do to get it uniform and level.
Drawing and Block Count/Order
CAD drawing of the DIY outdoor kitchen
Dan at Backyard Flare drew up the grill structure using CAD and concept and then used the drawing to calculate the type of blocks and exact number of each block needed. Dan figured the mortar and concrete need as well, and then called Lowes to place the order for delivery. The best part is that almost all the building materials and even the grill will be delivered right to the side of the house, which is where the gate is located leading to the backyard. The materials purchased, including the $75 delivery fee, was only $505, and that included the grill. Wow, how much more economical can it get?
Follow along on our future posts as we build. You’ll be amazed at how easy and inexpensive it can actually be to build on your own. The DIY world is yours to explore and we can help. If you’re interested in building your own backyard paradise, let us know how we can help. Get your construction plan today and begin building your DIY outdoor kitchen tomorrow. Happy building.
Beautify your DIY outdoor fireplace with lighting.
There are many ways to install backyard lighting in your outdoor space. In this quick tutorial, we’d like to specifically go over our method of installing low voltage lighting in a outdoor fireplace structure. We are currently building an amazing DIY outdoor fireplace at my in-law’s house in Marana, Arizona, a suburb of Tucson, and it is turning out beautiful. To include that “extra something”, we made sure to add a little lighting to the fireplace, so it really shows off the structure at night. Backyard lighting makes the world of difference when added tastefully. Just a little goes a long way.
Bring Your Backyard To Life
Even when we aren’t enjoying the warmth of a fire, we want to be able to look out the window into the backyard and see the fireplace, and the lighting will really make that happen. The backyard lighting also gives off enough ambient light, so the backyard isn’t completely dark. We want to be able to go outside and walk around the backyard at night without having to turn on all the exterior patio lights.
Lowes? Yep…They’re Everywhere
Here at Backyard
Flare, we love to shop at Lowes Home Improvement because they have so much
variety in their departments. Follow
them on Instagram at @loweshomeimprovement for great pics and design
ideas. For the lighting on our
structure, we ventured to the outdoor lighting aisle and we picked up a Hampton
Bay 150W transformer, a 100-foot spool of low voltage lighting cord, and six Hampton
Bay LED lights. The total was about $125,
but you’ll see that it was worth every penny.
Backyard Lighting Installation
So, let’s get into the installation method. To understand low voltage lighting, it is important to know that it’s like powering a light bulb with a battery. A transformer will plug into a wall outlet, but the alternating current from the outlet will be converted in the transformer to direct current, like a battery. The 100-foot power cord is attached to the back of the transformer like you would attach speaker cord to a receiver, only a screw driver is used after the ends of the wires are stripped.
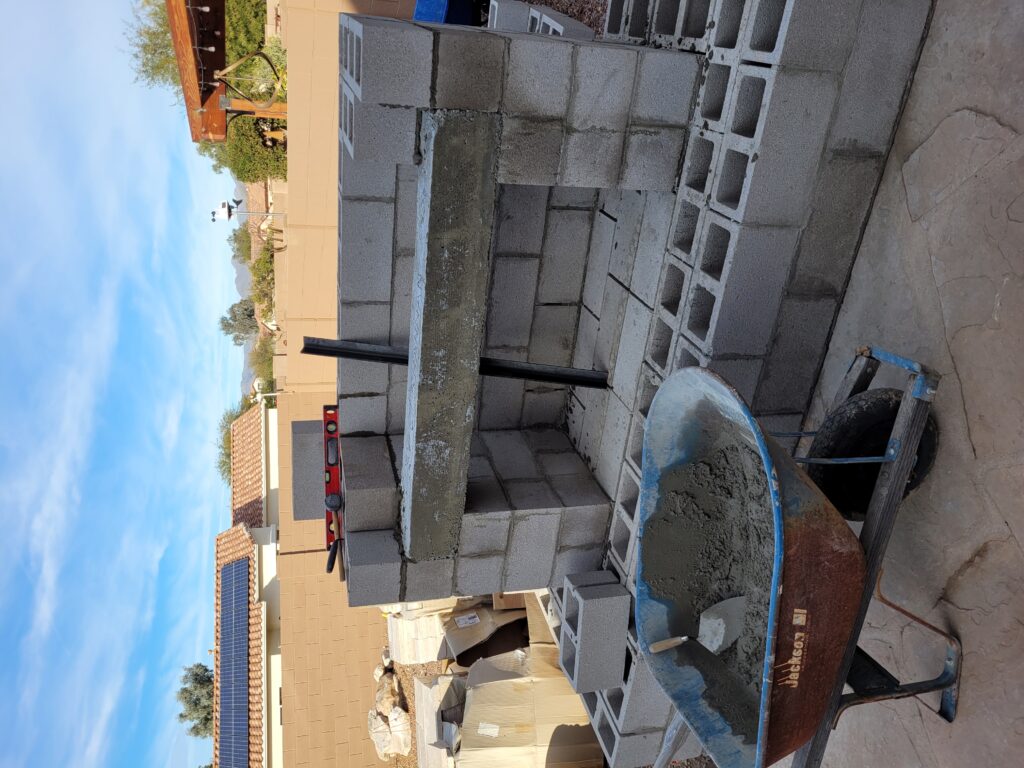
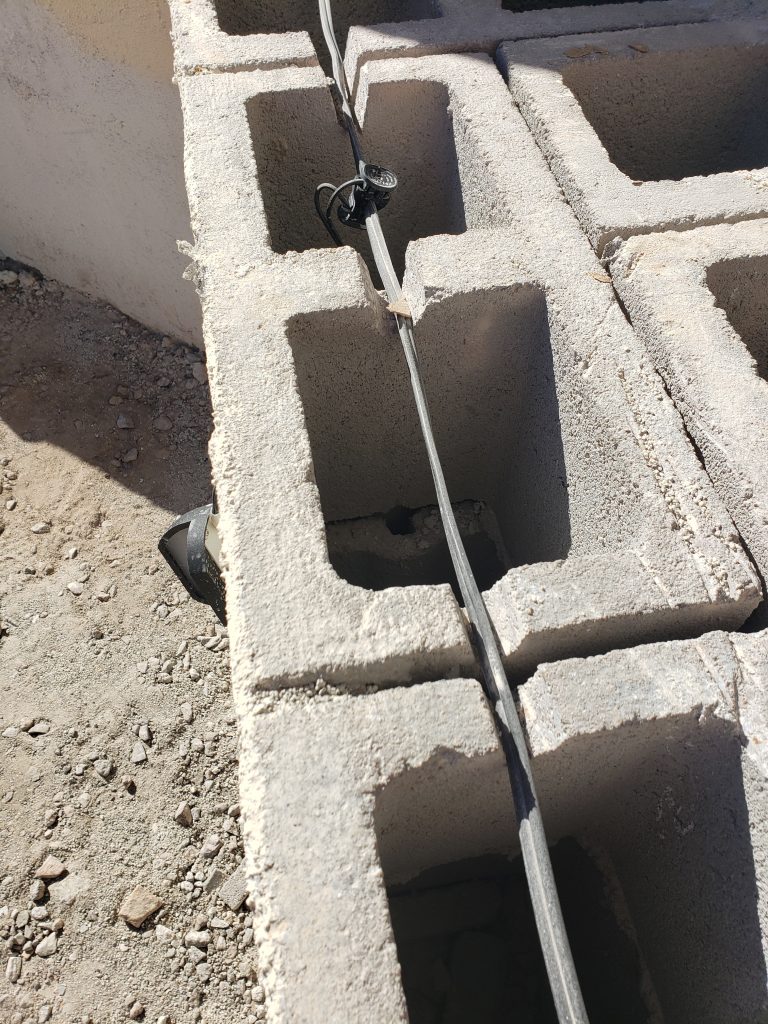
We routed the cord to the structure, and it entered on the back-left side. We ran it through the structure, cutting grooves into the tops of the cinder blocks for channels where necessary. The cord ran everywhere we wanted lights, and then it exited the back-right side of the fireplace.
Light Positioning
Run the power cord through the structure by cutting grooves into the block.
Once we
figured out exactly where we wanted the lights, we used a 3/8” masonry drill
bit and drilled holes big enough to pass the LED light connector through the
block. Inside the block, the lights’
push pin connectors were attached to the power cord and… we had light. The lights were attached to the front of the
structure using wall anchors in the block.
To install the wall anchors, we drilled more holes using a ¼” masonry
drill bit. It’s just like adding them to
drywall, but with a little bit more dust.
We made sure to add a light on the inside of each storage void too so the voids would be back-lit. It added a lot of appeal to the look of the structure and sure made a huge impact at night. The addition of light to an outdoor fireplace or kitchen is super simple and we know that you can do it. We sure hope this helped you out and that it eased your hesitation to add lighting to your structure or backyard. If you’re interested in building your own DIY outdoor fireplace or outdoor kitchen, visit us at Backyard Flare for the best and most comprehensive outdoor construction plans on the market.
Show Us What Your Lighting
We would
love to see some of your outdoor lighting.
Please send pics of your projects to dan@backyardflare.com. Thanks for reading, and I hope you learned
something here. Until next time, have
fun on your outdoor projects and happy building.
Dan Heston Backyard Flare, LLC Tucson, Arizona www.backyardflare.com www.diyoutdoorfireplaces.com 520-269-9740