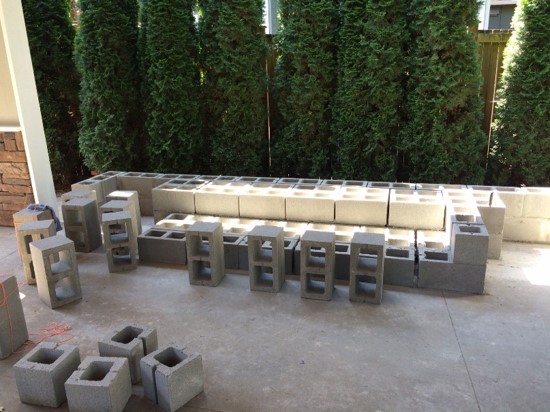
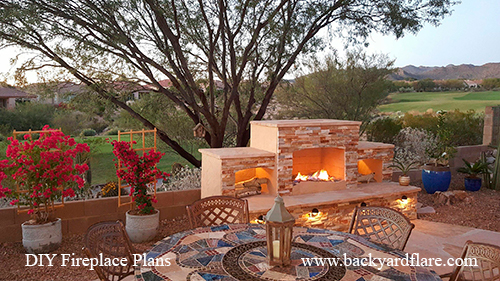
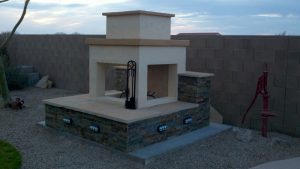
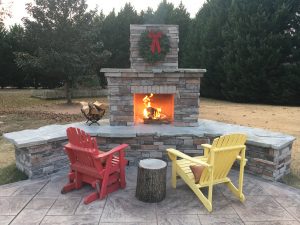
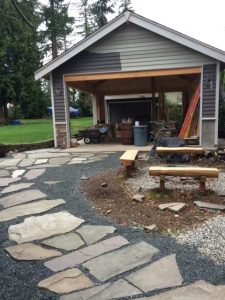
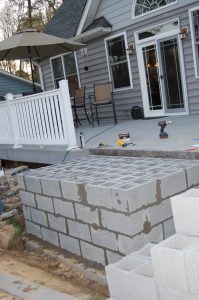
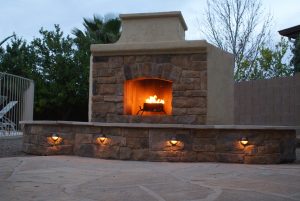
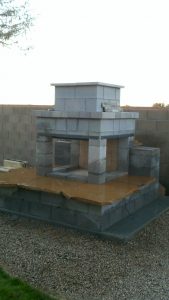
After building your outdoor fireplace, outdoor kitchen, or other outdoor structure, there are endless ways to finish the look. You will have to consider options for both your horizontal and vertical surfaces as well as extra bling such as lighting.
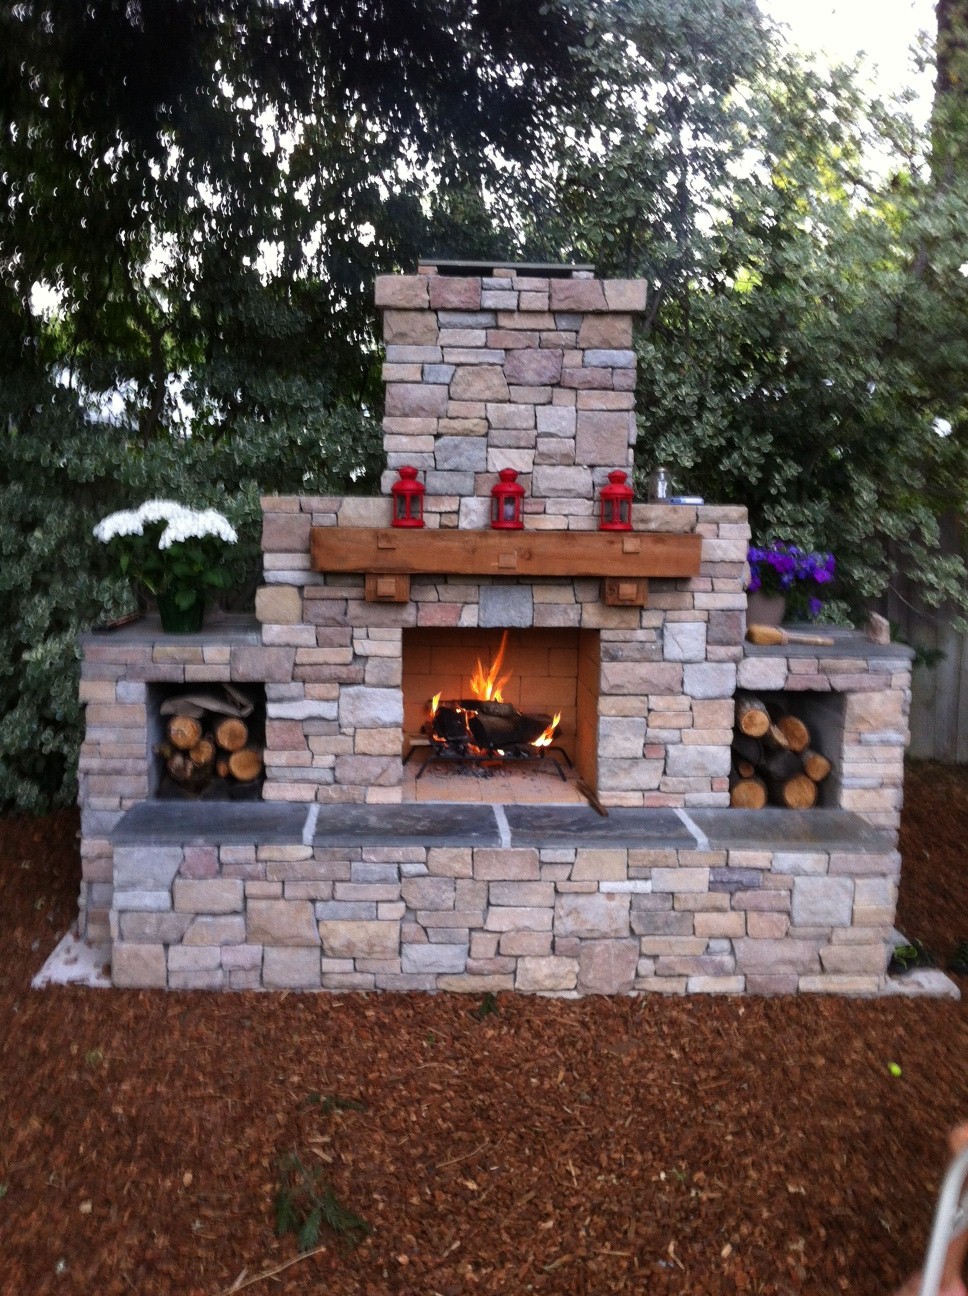
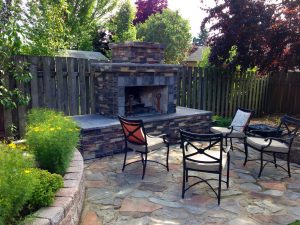
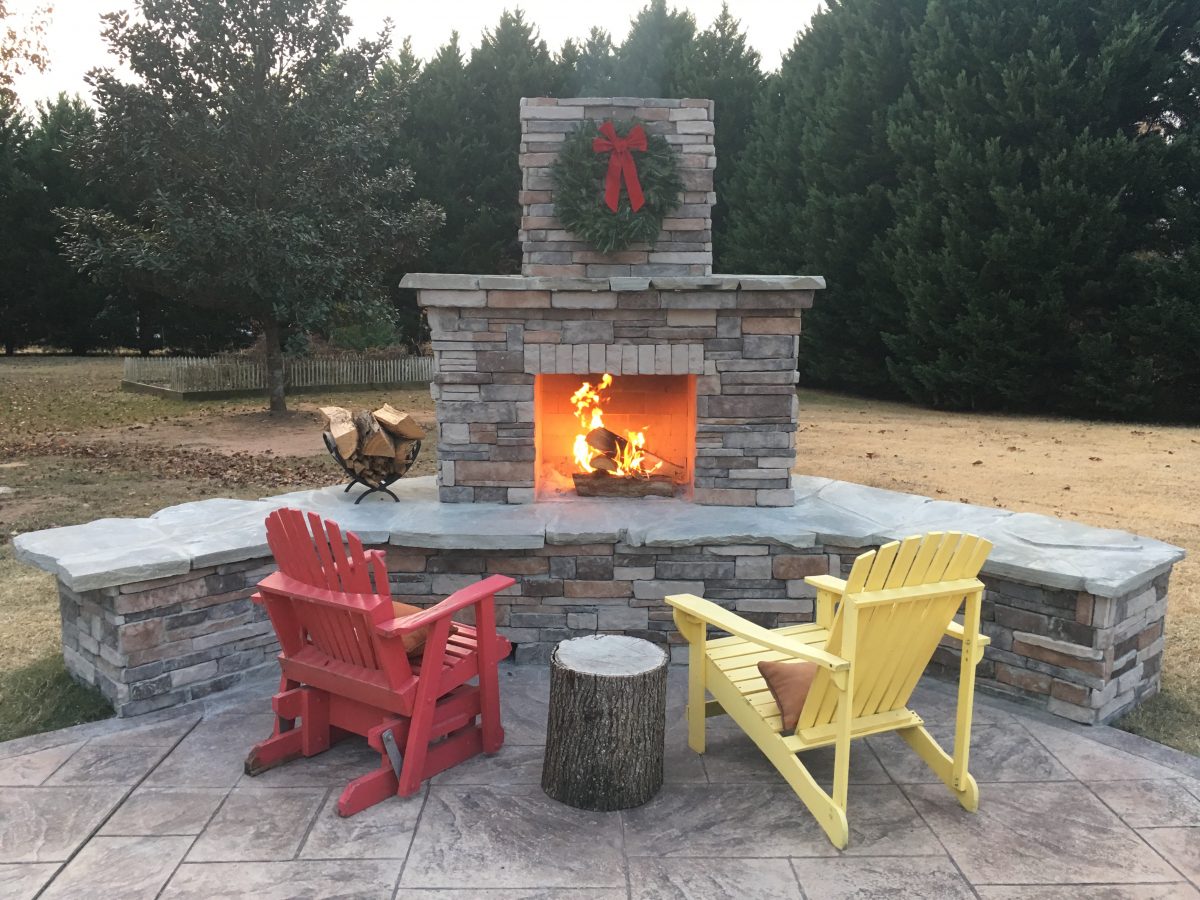
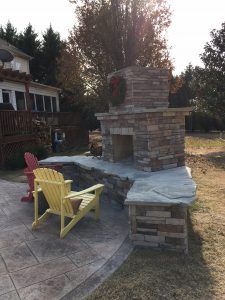
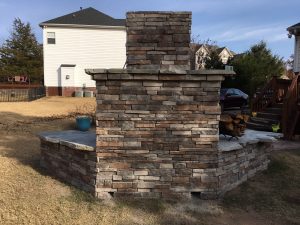
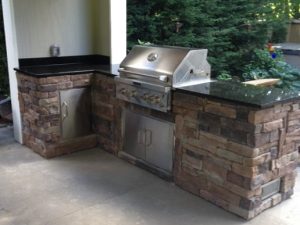
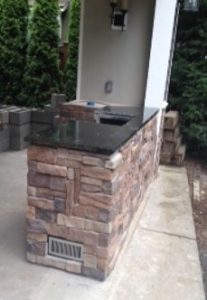
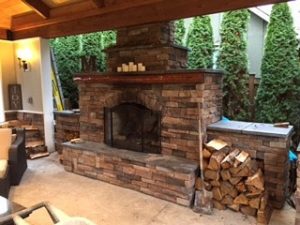
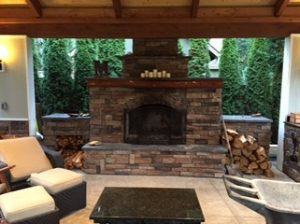
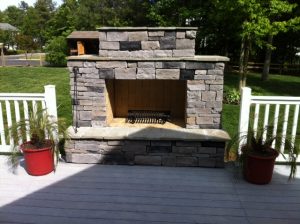
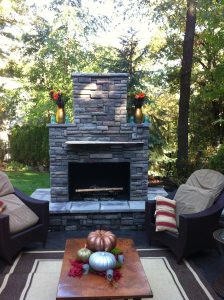
This article isn’t long enough to possibly explain or list the seemingly endless combinations of veneer and seating options so we’ll just briefly talk about a few of the more popular looks. There are a lot of manufacturers that make and deal in different types of products but they all effectively do the same thing. They add a beauty to the outside surface of your outdoor fireplace. Faux stone, tile, stacked real stone, and stucco are among the most popular looks.
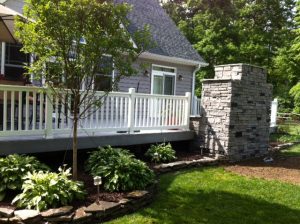
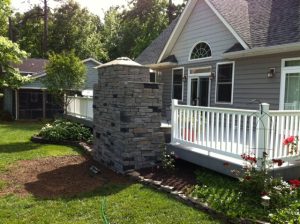
Vertical Surfaces
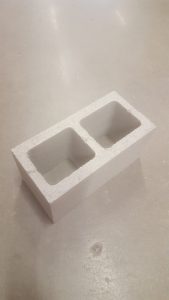
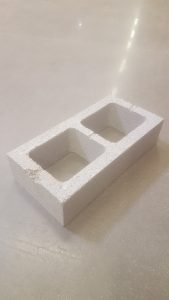
The basic purpose of these vertical veneers is to cover the drab gray cinder block. Let’s go through them one by one. Faux stone looks very realistic and it can add a rustic look like the fireplace was built entirely out of rock. Lots of different looks are available. Tile veneers can expand into regular ceramics or even a natural travertine stone. These tile veneers will give you a more modern look most of the time.

Stacked stone is a real stone that has been milled and shaped so the pieces fit together nicely. Some of the better products will look seamless. The small size of the stone allows for several different colors and stone variations to be used in conjunction with each other. Very elegant. The final veneer that offers a great look is stucco. Stucco can be textured or applied as a smoother surface. The beauty of stucco is that it weathers well and it can be painted to match other items in your backyard.
Horizontal Surfaces
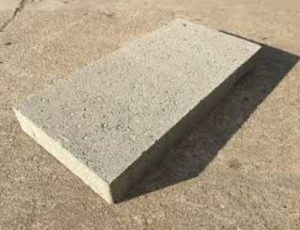
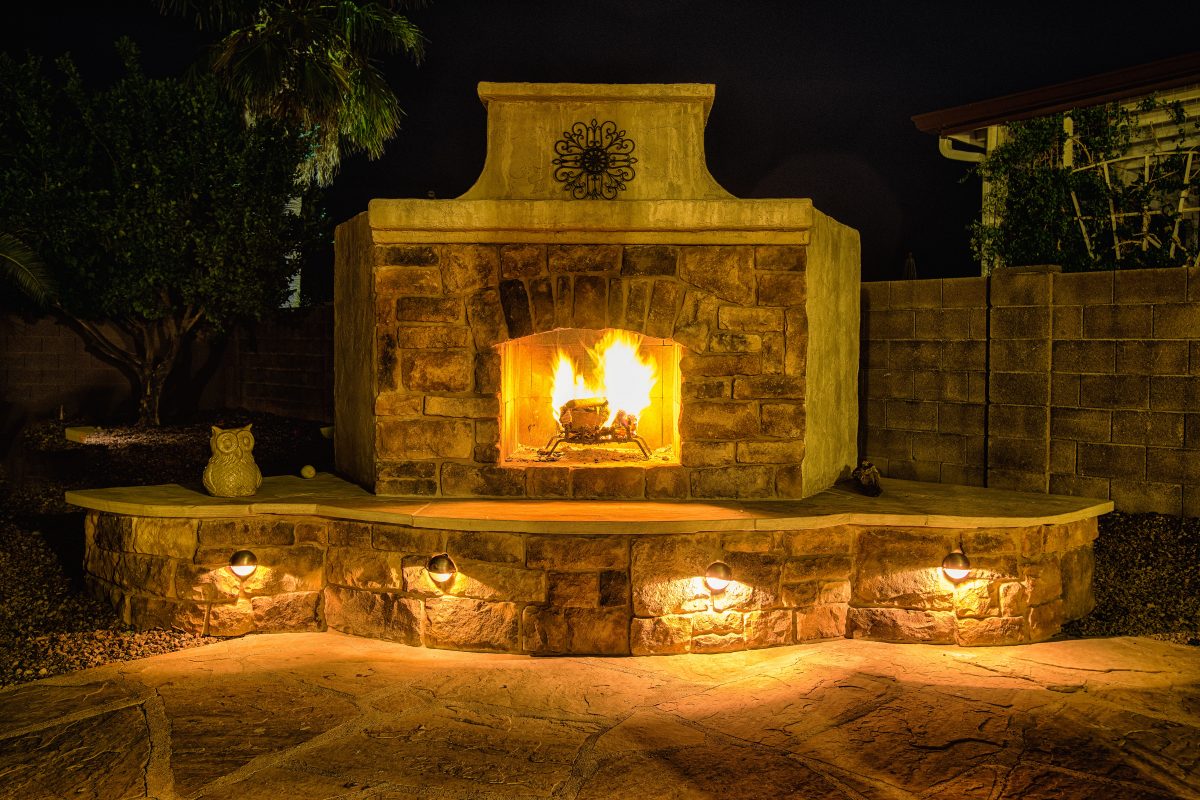
When it comes to the horizontal surfaces of the outdoor fireplace, look to natural stone for a smorgasbord of different textures and colors. Most of this stone is very easy to work with. You will cut the sections of stone with the same diamond blade you used to build your cinder block structure.
If you decide on the color of the vertical veneer and the horizontal surface material at the same time, you can pick great matching elements. Certain colors and textures really complement each other but there is definitely no “one way” to complete the finish work of the structure. As far as veneer and horizontal surface material is concerned you have more options than you can imagine.
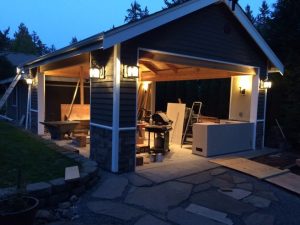
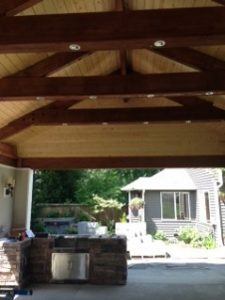
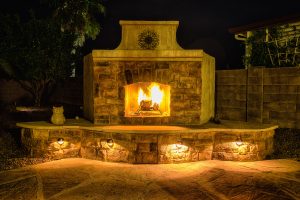
Lighting
Lighting is a great way to add that special flair to any outdoor fireplace. It brings a certain elegance to the fireplace and if used along the bottom of the hearth, it will frame it nicely. Low voltage lighting is the way to go for this look and the addition of this lighting is relatively inexpensive.
Comment on this article with your thoughts. Share your favorite final look and/or what you did to make your fireplace a one of a kind.
Visit us at www.backyardflare.com for great content and ideas for your outdoor fireplace.