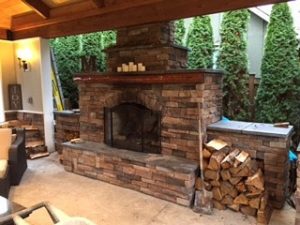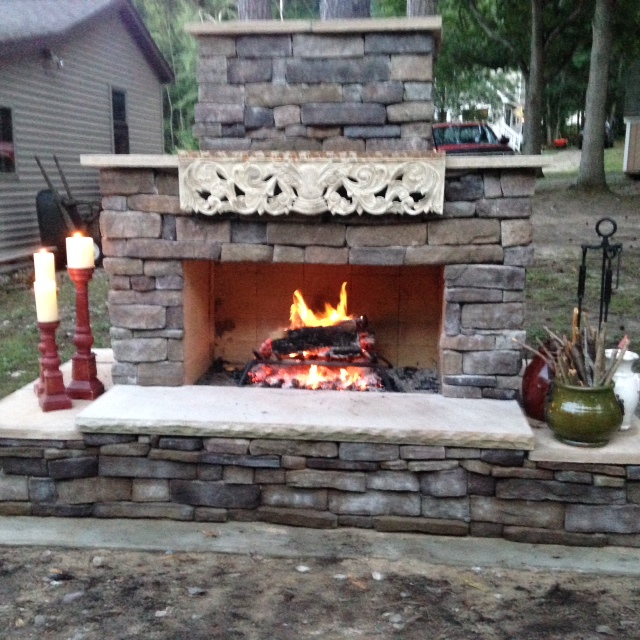
Shaping and Cutting Natural Stone
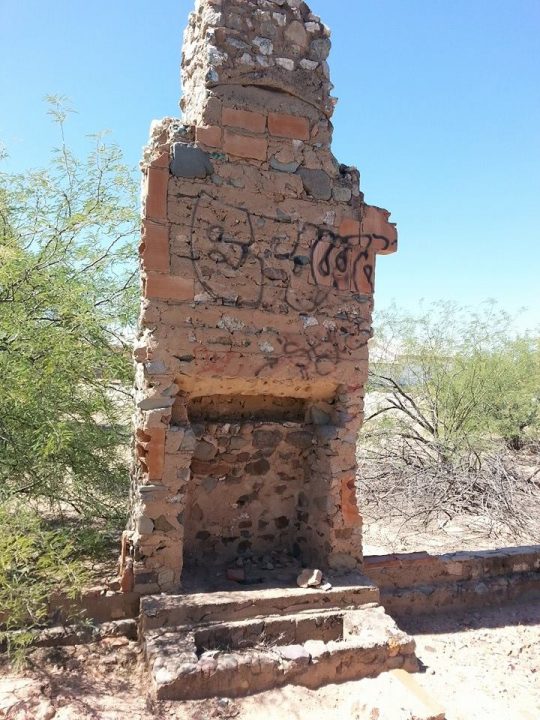
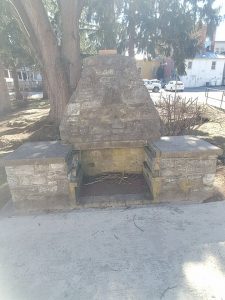
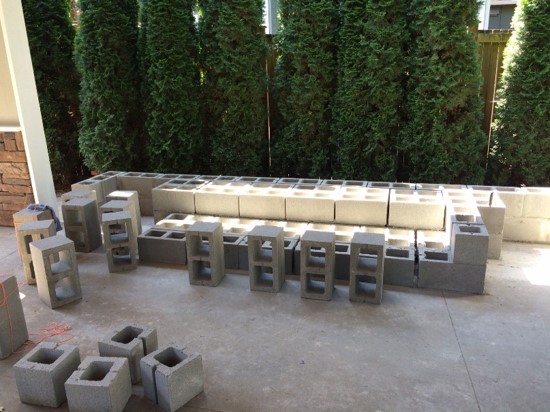
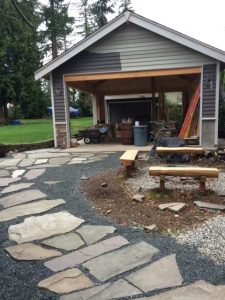
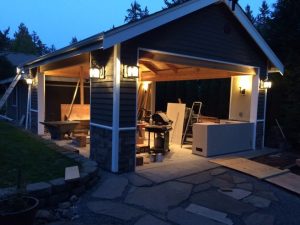
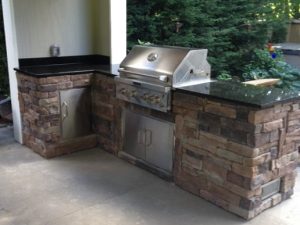
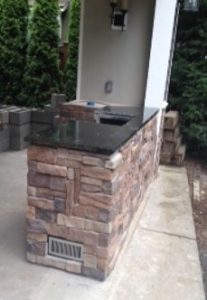
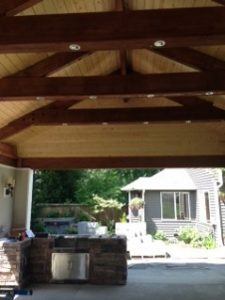
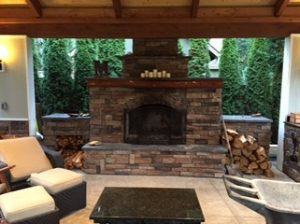
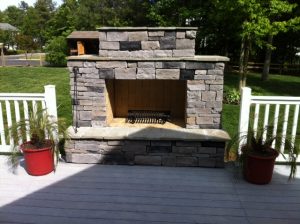
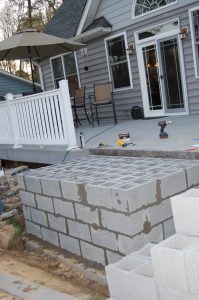
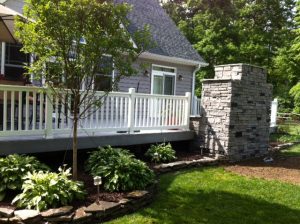
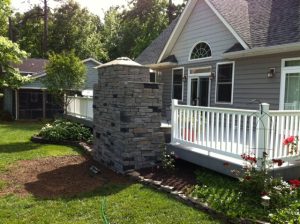
You’re done with your DIY outdoor fireplace or DIY outdoor kitchen and you are contemplating what you will use to cover the horizontal surfaces. Look to natural stone for a possibility. Shaping and cutting natural stone does not have to intimidate you. There are ample resources that will help guide you through the process of getting your stone to fit the seating, shelving, and the top of your fireplace or kitchen. And it looks beautiful.

Do Your Research
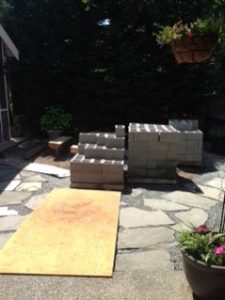
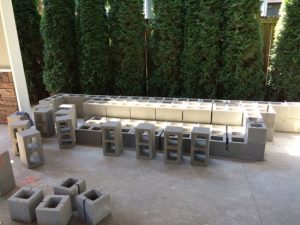
Do an online search for DIY outdoor fireplaces or DIY outdoor kitchens and you’ll see some amazing structures. Pay attention to the horizontal surfaces and you’ll see that these DIY homeowners have used lots of different materials. One of the widely used materials for the horizontal surfaces is natural stone. The use of the natural stone will require some cutting and shaping of the material before it can be applied to your structure though. This can be done via a couple different methods.
Cutting Natural Stone
Method One – Use a Diamond Blade

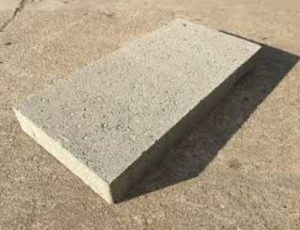
The first and most common method of stone shaping is to use a diamond blade to cut it. This is a very effective way of cutting the stone and curved cuts are even possible. The final look will be a smooth edge that can be rounded off for a finer look.
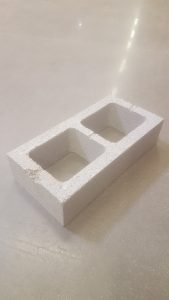
The diamond blade you use to cut your cinder block can double as the stone cutting blade. Depending on your saw, diamond blades can be used dry or wet. Dry cutting is dusty so use a mask and prepare to be covered in the colored dust. With a good blade, some stone, such as flagstone will cut through like a hot knife through butter. Don’t try to cut too deep, too fast though as you will bog down the saw.
Check out this video showing how easy cutting natural stone can be using a diamond blade. This is an example of a dry cut, using a 9″ grinder.
https://www.facebook.com/BackyardFlareLlc/videos/630083177148781/
One more thing to keep in mind about dry cutting is that your blade will become super hot and it will begin to soften and warp. When this occurs, simply stop cutting to allow the blade to cool down. If you proceed too long with a warping blade, it may maintain that warped out-of-round shape even after it has cooled.
Cutting Natural Stone
Method Two – Hammer and Chisel Cutting
If you want a more rustic look, you can opt to chisel cut the stone. This is a bit more of an art form and could require an extra piece or two of stone that you can practice on. You will use a hammer to hit the chisel, but don’t hit too hard. For the best cut, you will use small movements of the chisel head as you impact the chisel with your hammer.
If you are cutting a 12” straight cut using a 4” chisel head, you will probably hit the chisel at least eight to ten times along the way. The stone may not break after the first pass so start again and continue as you first did until you see the stone begin to crack.
It is not uncommon to go from end to end three or four times before the stone breaks. At times, you may have a stone that will not break exactly on your intended line. This may be a result of a stone that already has cracks and fissures in it. The stone will break where it is most vulnerable but it may not be exactly where you intended it to break. This is the frustration of chisel cutting versus cutting the stone with a blade.

Check out a great video on cutting natural stone using the hammer and chisel technique.
https://www.facebook.com/BackyardFlareLlc/videos/289085947915174/
Cutting Natural Stone – Practice Makes Perfect
A great idea is to purchase a small piece of stone ahead of your construction. You can practice cutting lines, both with a blade and chisel. With enough repetition, you will find the preferred method and look that will look great on your structure.
As always, happy building.
Dan