Building Your Backyard
If you have ever wondered how to go about building your backyard to perfection, then keep reading. We hope this article will give you a bit of guidance.
For many, their backyard area is an eyesore. Others just need a bit of spicing up. If you are in either category, you can achieve the perfect backyard if you adhere to the right phases in the right order.
Building your backyard
Phase One
planning
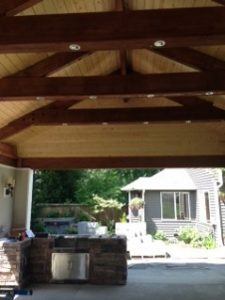
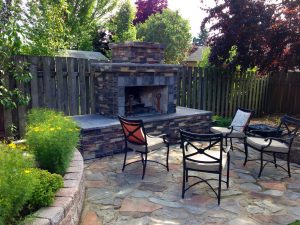
The first phase is planning the layout. Step back and really look at what you have. This will be a great time to brainstorm with a tablet of paper and pencil to sketch out different scenarios. By drawing different layouts on a piece of paper, you can compare the different possibilities and see what works the best for your space. You may find that certain layouts will make better sense than others. Talk your ideas over with family and friends and take in their ideas. You never know, you may not have thought of everything.
Building your backyard
PHASE TWO
gathering

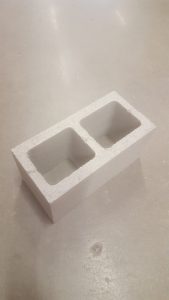
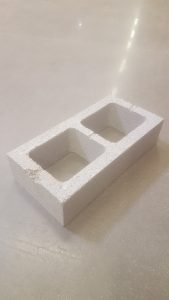
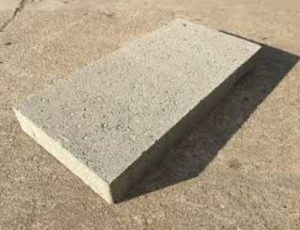
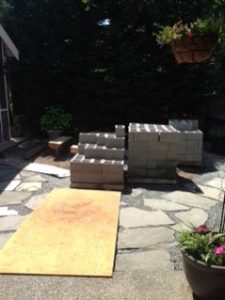
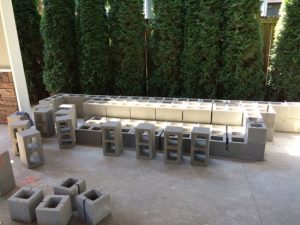
The second phase is gathering what you will need to get the job done. This includes everything from a construction plan, the tools necessary, and the materials needed to build your project. If you are wanting to build a masonry structure, have the vendor deliver the blocks, mortar, and cement on a pallet to as close to the work site as possible.
The tools needed are sometimes specialized so you won’t have too many other opportunities to use them again. These will be trowels, masonry cutting blades, etc. Borrow what you can and don’t buy them if you don’t have to. If you must buy a tool, buy cheap, and even if you must buy two, it still may not be as expensive as one professional grade tool.
Building your backyard
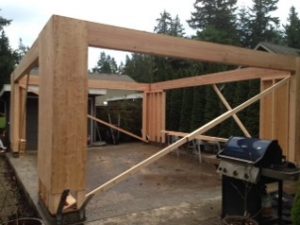
PHASE THREE

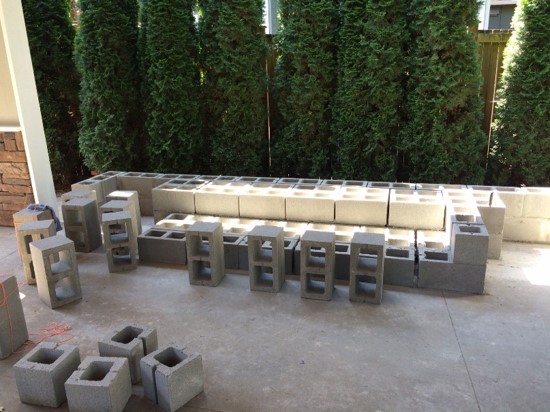
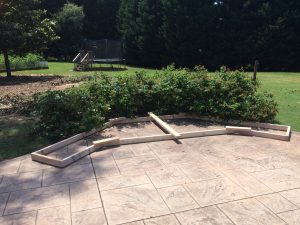
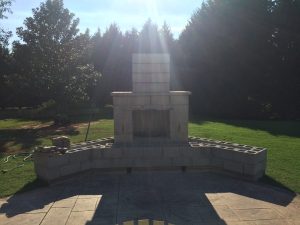
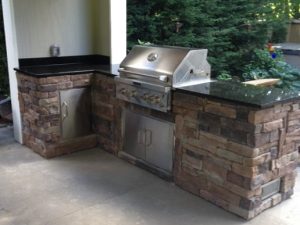
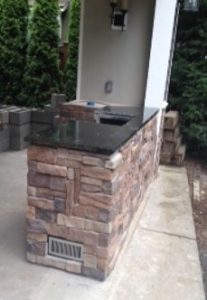
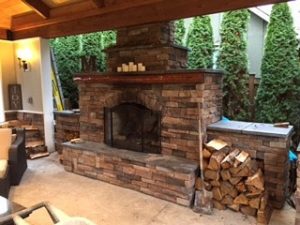
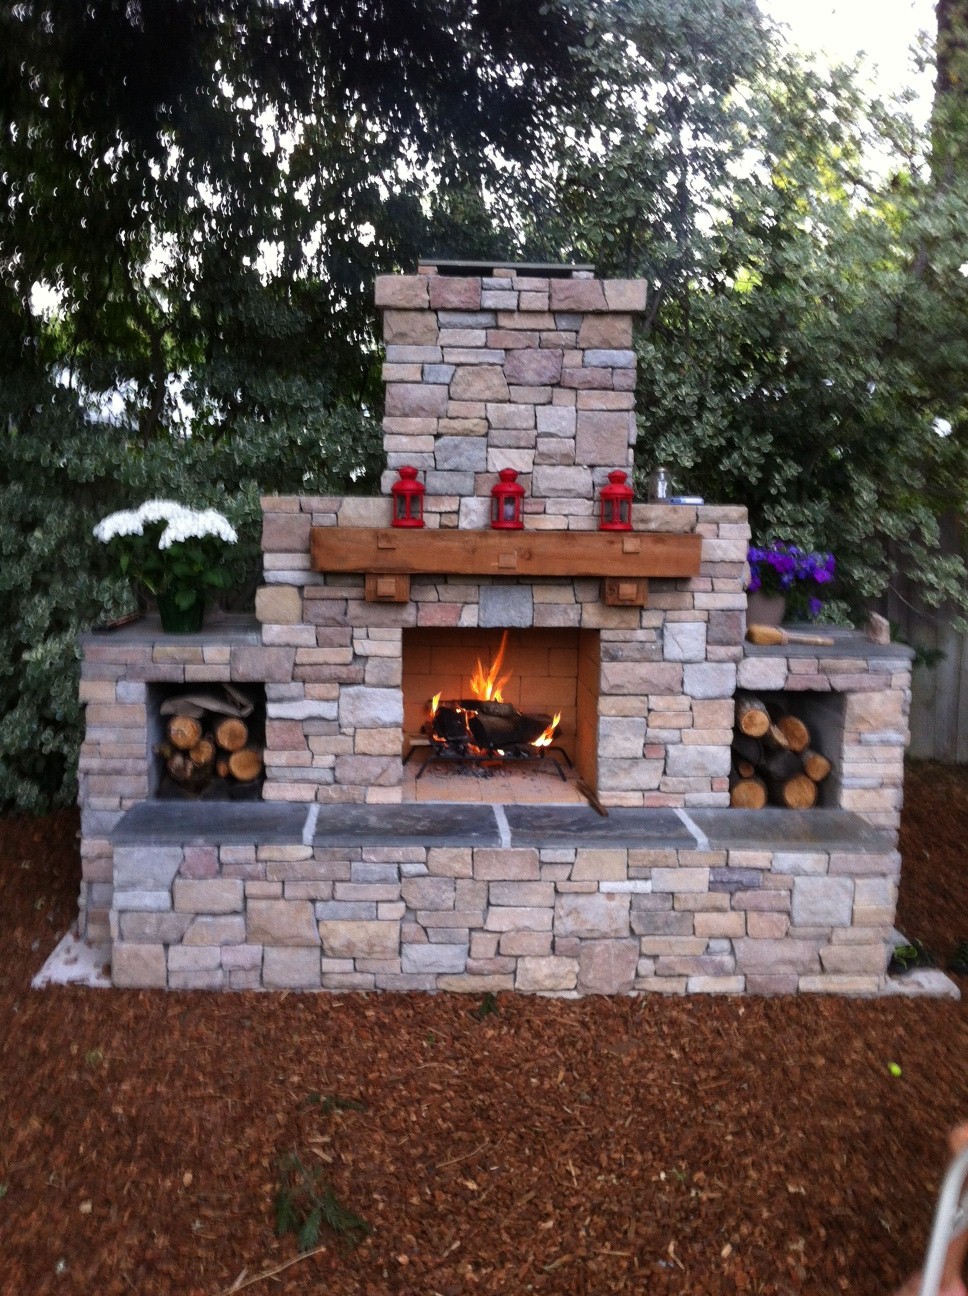
The third phase is the best part, the building of the project. A solid foundation is paramount for many masonry structures due to their weight. A lack of stability under a masonry structure could result in shifting and cracking. The building phase is a great time to get help from family and friends. Sometimes a pizza and beverages go a long way.
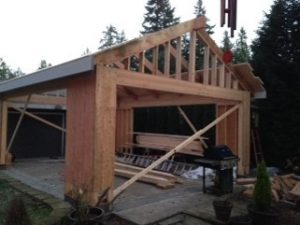
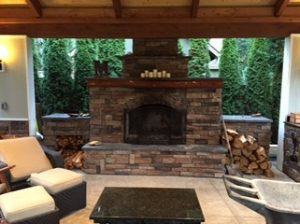
The building phase will be the part everyone will see so definitely take your time and pay attention to the small stuff, the detail, the minutia. It’s the attention to detail that will make your project a stand-out backyard.
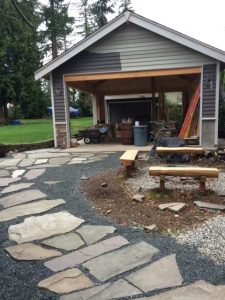
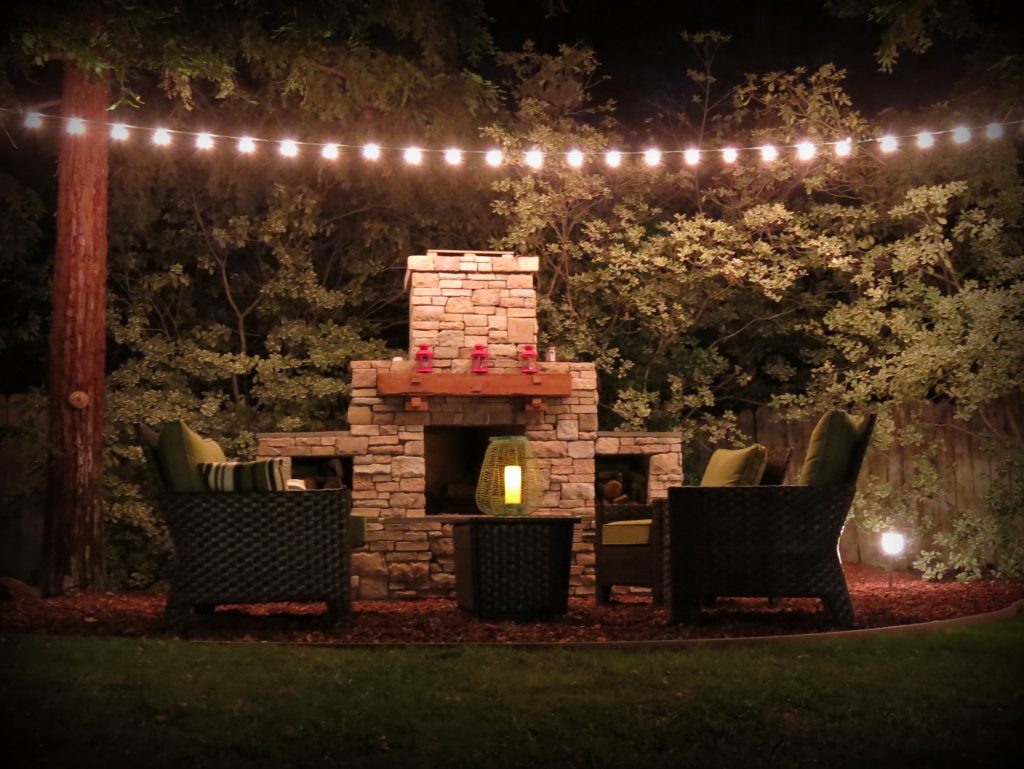
When you get to lighting and irrigation make sure you don’t have too much of the project finished. This is especially irritating if you have to rip out some of the progress to add electrical and water lines.
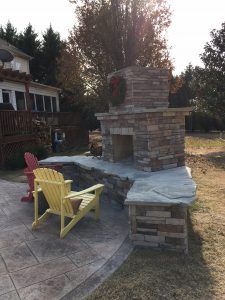
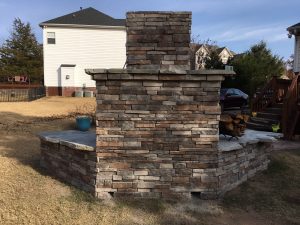
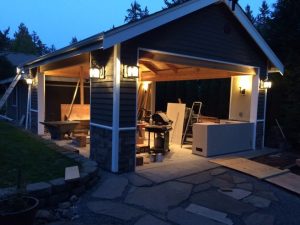
While building your backyard, pay attention to the phases and your project will turn out to be the talk of the town thus your neighbors and family will be in awe. Be careful because you will then be the go-to for the how to.
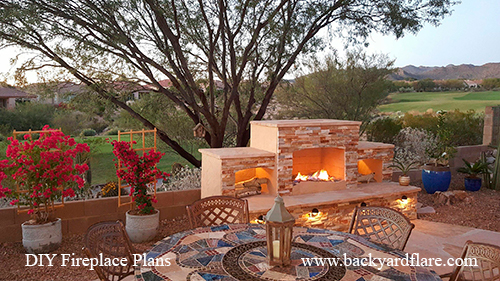
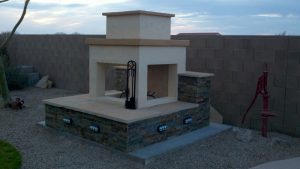
If you need any assistance on a masonry structure like a fireplace, kitchen, pizza oven, and want a DIY construction plan, visit www.backyardflare.com. Building your backyard does not have to be a chore or burden. We’ll help you along the way and give you the insight you’ll need to get it done and on a budget. Happy building.