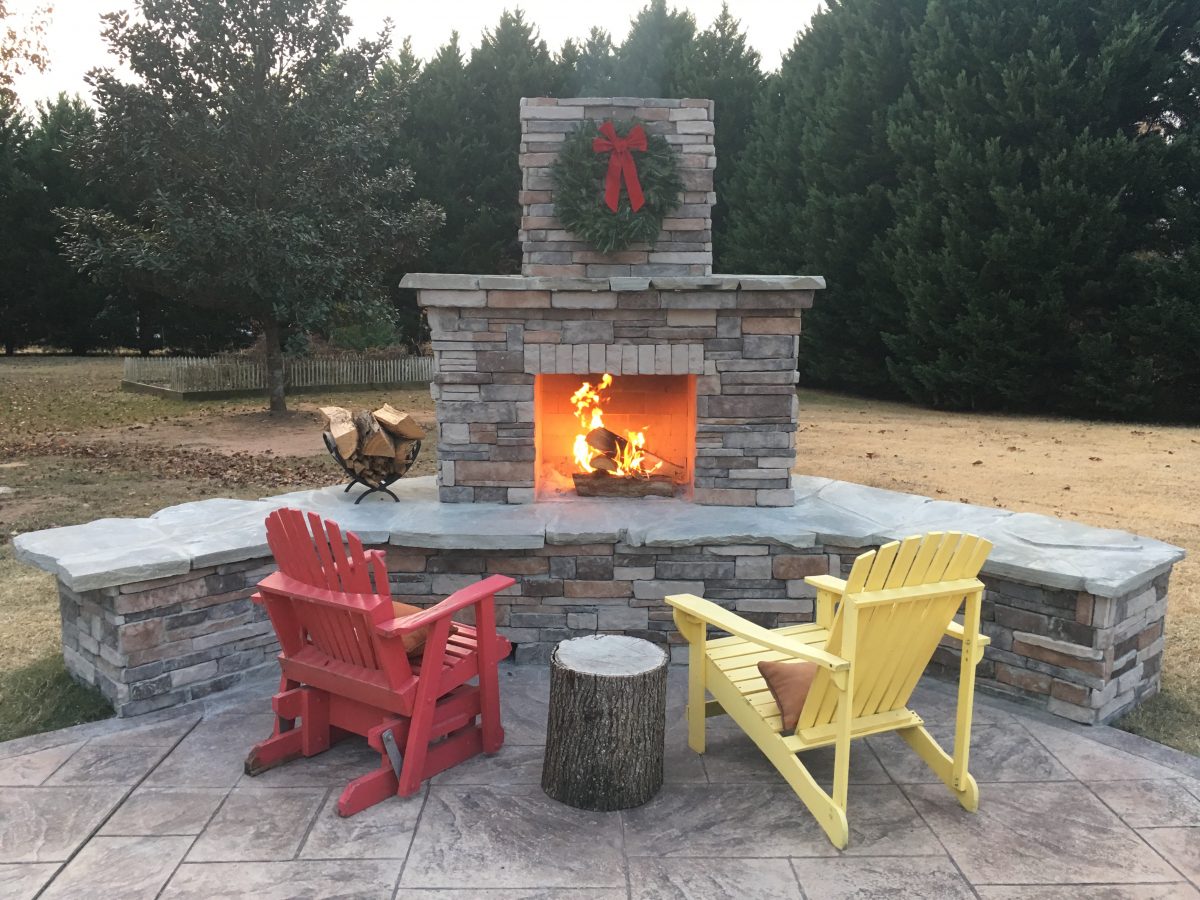
Great Ways to Finish Your Outdoor Fireplace
There are some great ways to finish your outdoor fireplace. Basically, there are endless of ways to add the finishing touches which will make your outdoor fireplace a one of a kind. Even if you build the basic rough structure that another person constructed, yours will look different.
If you pay attention to detail, your fireplace and backyard landscape can look like something in a magazine. We will cover five of the big finishing touches and things you can do to give your fireplace the wow factor.
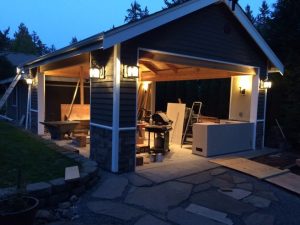
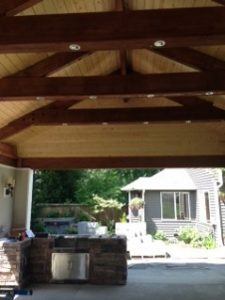
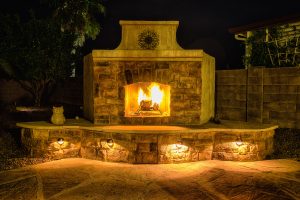
1. Low voltage lighting
Even when the fireplace is not being used, low voltage lighting is a great way to add a great night time visual aspect to it. The lighting is powered by a transformer specifically designed for these types of lights. By connecting the fireplace lights to landscape lighting in your yard, everything will be illuminated at the same time.
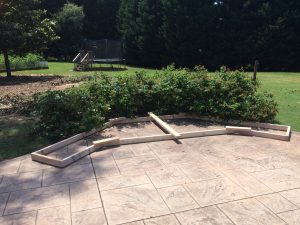
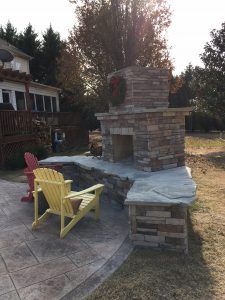
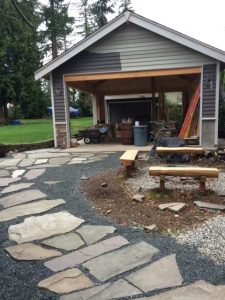
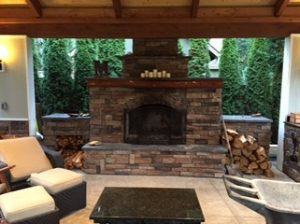
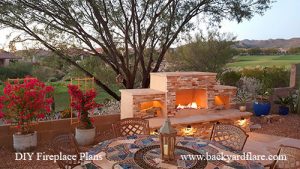
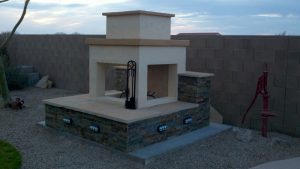
2. Natural stone seating surface
By using a natural stone material for the seating, you will have a very durable, and inexpensive surface. There are a couple widely used stone options, such as flagstone and bluestone. Both can be purchased at landscape supply retailers and you will have tons of colors and patterns to choose from. Cutting the stone is as simple as using a diamond blade for a smooth edge or a chisel and hammer for a rough rustic edge.
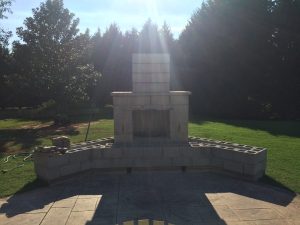
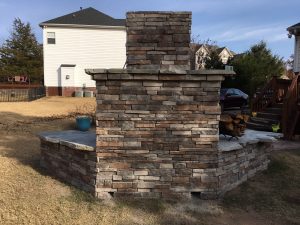
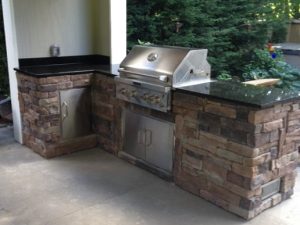
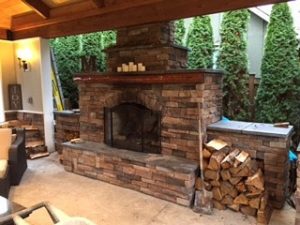
3. Stacked Stone Veneer
Stacked stone is a great way to finished the vertical surfaces of the fireplace, but it can be somewhat expensive as compared to other finish options. This type of material is purchased in arrangements that will fit together seamlessly. The stone is real and engineered during the cut process, meaning that it will be very easy to install. Cutting this stone will take a bit more time and patience as it is sometimes brittle.
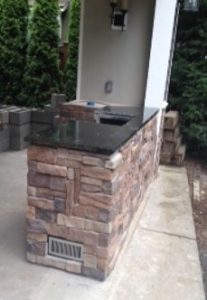
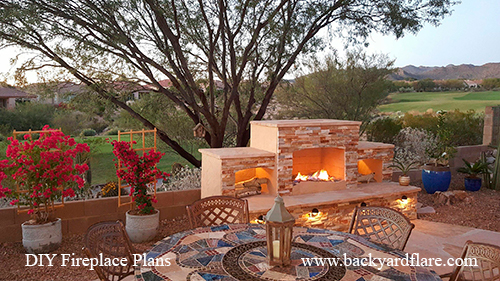
4 . Faux Veneer
Faux veneer is a fabulous way to add a cheaper finish to the outside of your fireplace than natural stone. The great thing about faux veneer is that you can find virtually any texture, color, shape, and size imaginable. The faux stone is basically a manmade product that is painted and finished to look just like a real material. The faux stone is very easy to cut but it may take a bit of extra time fitting it together. There is no “one way” to put it together most of the time, so using your Tetris skills will come in handy. Faux veneer will usually require corner pieces that will give you a great finished look as the material wraps from one vertical surface to another.

5. Wrought iron accents
Wrought iron accents will add both a décor and some functionality to your fireplace. First, add an elevated fire grate in your firebox. This will both give you a great look, but it will aid in keeping your burning wood elevated for proper air flow. Fireplace tools will give you the capability of working and stoking your fire as you need to. Many tools sets will come with a holder as well keeping it nice and neat.

Well there you go, five considerations that if done right, will set your fireplace on a pedestal. You don’t have to do them all to achieve a great look, but they certainly won’t hurt.
If you want to build your own outdoor fireplace, check out www.backyardflare.com for some great ideas and inspiration. We are sure you will get a vision for how you can transform your backyard into a great destination.