Getting Started
Well, this 2020 spring sure snuck up on us. Down here in the southwest, the temps are getting into the 70s already in March, so we are looking at some DIY projects. We have decided that an DIY outdoor kitchen is what my father-in-law’s backyard needs. He’s super excited and we started talking and discussing the build and what we would want in the structure.

We have a few hundred square feet to work with, so we have some different shapes and configurations available to us. There is a gorgeous mountain view to our east, so we definitely want to keep that on our mind when we design the layout.
Initial Thoughts

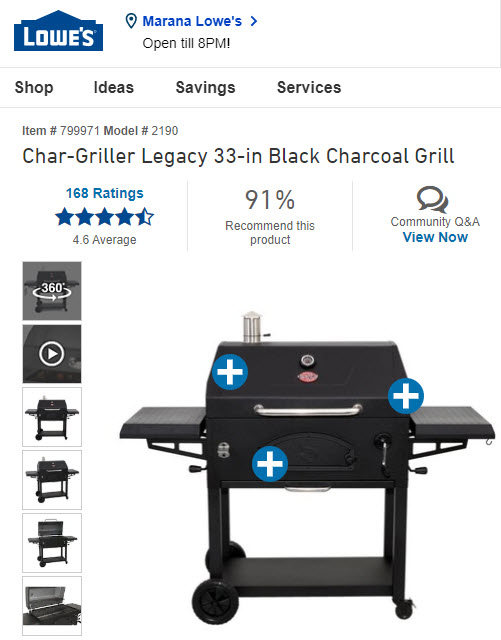
First and foremost, my father-in-law loves to cook on charcoal, so we are headed in that direction with the grill. We picked out a Char-Broil brand structure that we’ll modify to fit the space. That’s a real cool way to build and very economical, so we’ll be getting into that in some future posts. Secondly, we are looking to match the exterior of the outdoor fireplace that we built last year on the opposite side of the backyard. In order to do that, we’ll be putting stucco and outdoor lighting on our DIY outdoor kitchen, with flagstone as our counter material. By using the same finish material on the grill and fireplace, it’ll look like we built both structures at the same time and the overall look of the backyard will look well thought out.
We decided that a raised bar area would be a nice addition to the DIY outdoor kitchen, so the structure will have to be big enough to accommodate that extra feature. An “L” shape is something we feel will work so the guests sitting at the bar will have the mountain view to look at while they talk to the grill chef and enjoy their favorite beverage.
Starting the Construction
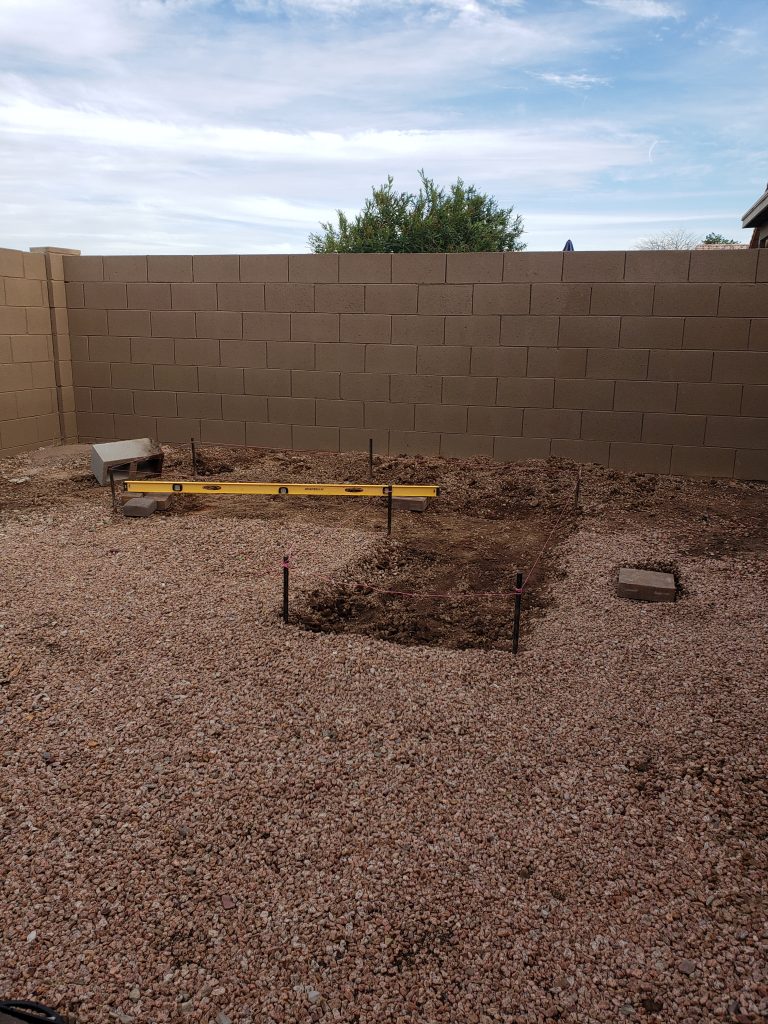
We staked out the rough dimension of the “L” shape grill and then started figuring out the level of the future concrete slab. This is important so our patio pavers are the same height of the patio to the house. The excavation of the site started with a quick dig out of the slab dimension.

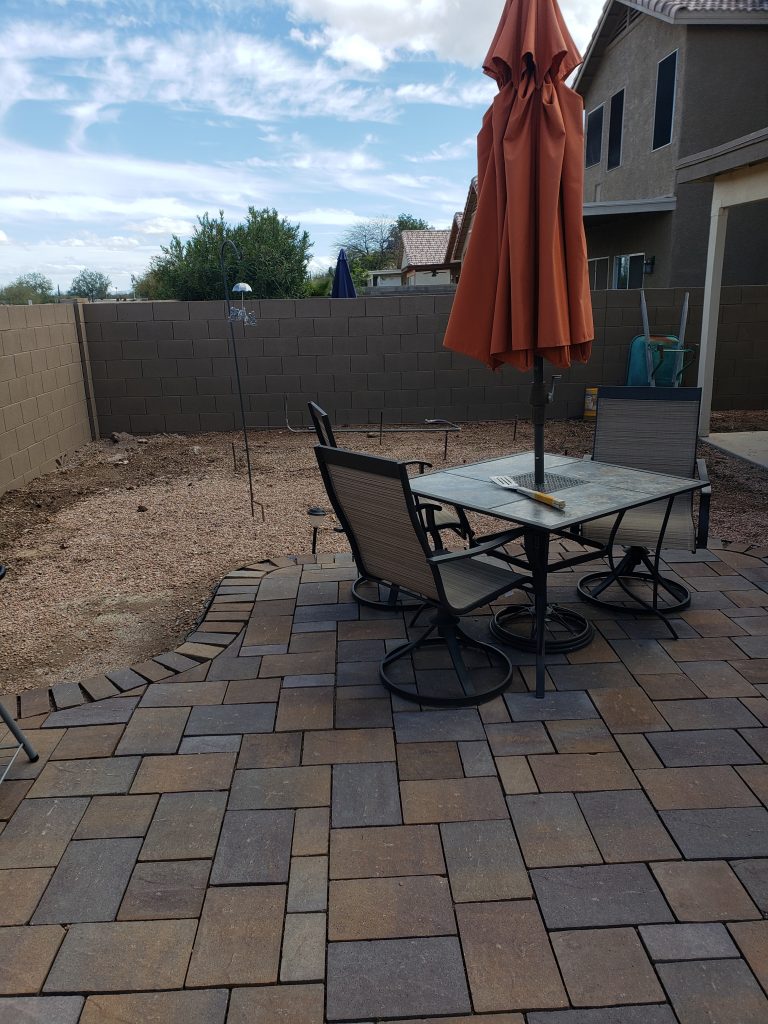
Using a really long level, 6-footer, we laid out random pavers from the existing patio to the farthest side of the DIY outdoor kitchen structure. This would tell us how much digging we would need to do to get it uniform and level.
Drawing and Block Count/Order

Dan at Backyard Flare drew up the grill structure using CAD and concept and then used the drawing to calculate the type of blocks and exact number of each block needed. Dan figured the mortar and concrete need as well, and then called Lowes to place the order for delivery. The best part is that almost all the building materials and even the grill will be delivered right to the side of the house, which is where the gate is located leading to the backyard. The materials purchased, including the $75 delivery fee, was only $505, and that included the grill. Wow, how much more economical can it get?
Follow along on our future posts as we build. You’ll be amazed at how easy and inexpensive it can actually be to build on your own. The DIY world is yours to explore and we can help. If you’re interested in building your own backyard paradise, let us know how we can help. Get your construction plan today and begin building your DIY outdoor kitchen tomorrow. Happy building.


